How to Speed Up a Slow Computer Without Reinstalling Windows
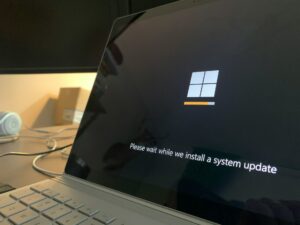
How to Speed Up a Slow Computer Without Reinstalling Windows When your computer is sluggish, even the simplest of chores...
How to Speed Up a Slow Computer Without Reinstalling Windows When your computer is sluggish, even the simplest of chores...

Complete Guide to BIOS and UEFI Settings for Beginners One of the most essential abilities that any person who uses...

How Edge Computing Is Changing Everyday Computer Performance The performance of computers in daily life is being revolutionized by edge...

The Rise of AI-Assisted Freelance Workflows in 2025 A dramatic transformation in the way that independent professionals approach their job,...

Why Modern Operating Systems Are Shifting Toward Modular Design In order to satisfy the ever-increasing requirements for adaptability and effectiveness,...

Freelancing Skills That Will Still Be Relevant After Automation Despite the fact that automation is transforming the landscape of freelance...

How Background System Processes Affect Long-Term PC Health Each and every computer has processes that are known as background system...