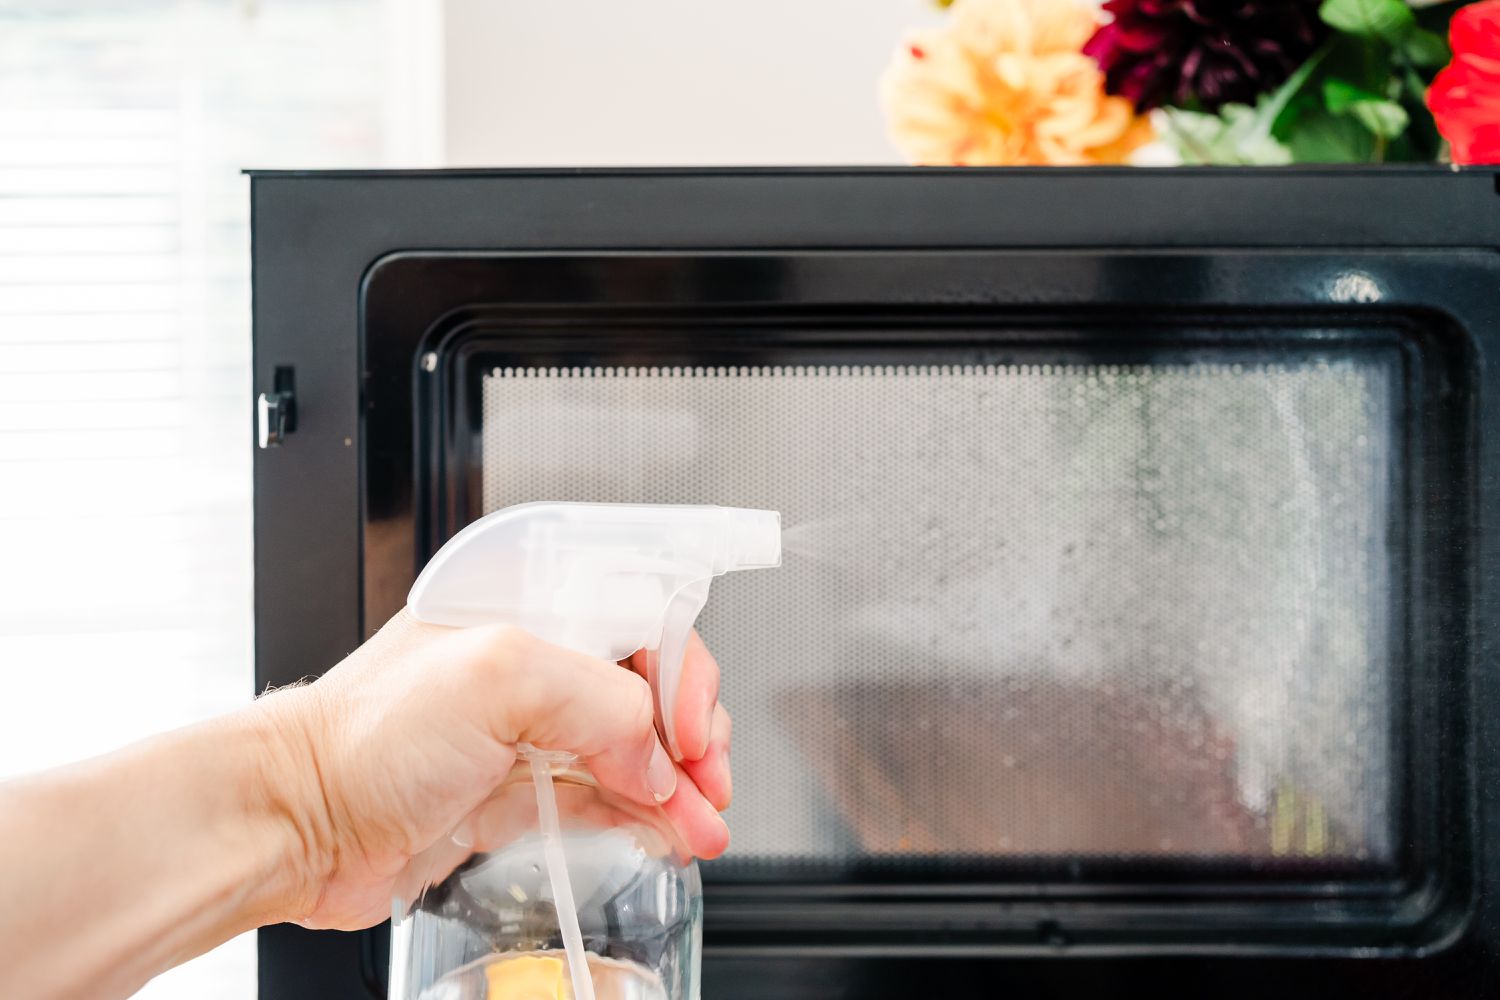
Comprehensive Guide: How to clean a microwave

Cleaning a microwave may seem like a daunting task, especially if it hasn’t been cleaned regularly. However, with the right tools, techniques, and a bit of effort, you can restore your microwave to a sparkling clean condition. This comprehensive guide will walk you through step-by-step instructions, covering various methods and tips for effectively cleaning both the interior and exterior of your microwave.
Step 1: Gather Your Cleaning Supplies
Before you begin cleaning, gather the necessary supplies:
Supplies:
- Dish soap or mild detergent
- Distilled white vinegar
- Baking soda
- Lemon (optional for fresh scent)
- Microfiber cloth or sponge
- Microwave-safe bowl or cup
- Toothpick or small brush (optional for stubborn stains)
- Water
Step 2: Prepare the Microwave
- Remove Removable Parts: Take out any removable parts such as the turntable and support ring. Wash these separately in warm, soapy water, and set them aside to dry.
- Wipe Down Exterior: Wipe the exterior of the microwave with a damp cloth to remove any dust or debris.
Step 3: Clean the Interior
There are several methods to clean the interior of your microwave. Choose one based on the severity of the stains and your preference:
Method 1: Steam Cleaning with Vinegar
- Prepare Vinegar Solution:
- Mix equal parts distilled white vinegar and water in a microwave-safe bowl or cup. Add a few drops of lemon juice for a fresh scent if desired.
- Microwave the Solution:
- Place the bowl or cup with the vinegar solution inside the microwave.
- Microwave on high power for 3-5 minutes, or until the solution comes to a boil and steam fills the microwave.
- Let Steam Work:
- Keep the microwave door closed for several minutes to allow the steam to soften hardened food splatters and stains.
- Wipe Clean:
- Carefully remove the bowl or cup using oven mitts (it will be hot).
- Wipe the interior of the microwave with a microfiber cloth or sponge dipped in the vinegar solution.
- Pay attention to the ceiling, walls, and door of the microwave.
- Remove Stubborn Stains:
- For stubborn stains, dip a toothpick or small brush in the vinegar solution and scrub gently.
Method 2: Baking Soda Paste
- Create Baking Soda Paste:
- Mix baking soda with enough water to form a thick paste.
- Apply and Scrub:
- Spread the baking soda paste over the interior surfaces of the microwave using a sponge or cloth.
- Focus on areas with stubborn stains or food residue.
- Let Sit:
- Let the baking soda paste sit for 15-20 minutes to loosen grime.
- Wipe Clean:
- Use a damp microfiber cloth or sponge to wipe away the baking soda paste.
- Rinse and wring out the cloth or sponge as needed.
Step 4: Clean the Turntable and Support Ring
- Wash Removable Parts:
- Wash the turntable and support ring in warm, soapy water.
- Dry them thoroughly before placing them back into the microwave.
Step 5: Wipe Down Exterior and Door
- Clean Exterior Surfaces:
- Wipe the exterior of the microwave with a damp cloth or sponge.
- Pay attention to buttons, handles, and vents.
- Clean Door:
- Clean the microwave door, both inside and outside, to remove fingerprints and stains.
Step 6: Final Touches
- Deodorize (Optional):
- Place a bowl of water with lemon slices or a few tablespoons of baking soda inside the microwave.
- Microwave on high for 2-3 minutes to deodorize and leave a fresh scent.
- Dry and Polish:
- Use a dry microfiber cloth to wipe down the interior and exterior surfaces of the microwave.
- Polish any stainless steel parts with a soft cloth to restore shine.
Tips for Maintaining a Clean Microwave:
- Cover Food: Use microwave-safe covers or lids to prevent food splatters.
- Wipe Spills Immediately: Clean up spills and splatters as soon as they occur to prevent them from hardening.
- Regular Cleaning: Aim to clean your microwave at least once a week to maintain cleanliness and prevent stubborn stains.
Safety Precautions:
- Allow Cooling: Always allow the microwave to cool before cleaning to avoid burns.
- Avoid Harsh Chemicals: Stick to mild cleaners and natural solutions to avoid damaging the microwave’s interior.
Conclusion
Cleaning a microwave doesn’t have to be a daunting task with the right approach and tools. By following these step-by-step instructions and incorporating regular maintenance, you can keep your microwave looking and smelling fresh. A clean microwave not only improves its performance but also enhances the overall cleanliness and efficiency of your kitchen. With these tips and methods at your disposal, you’ll be able to tackle microwave cleaning with confidence and ease.


