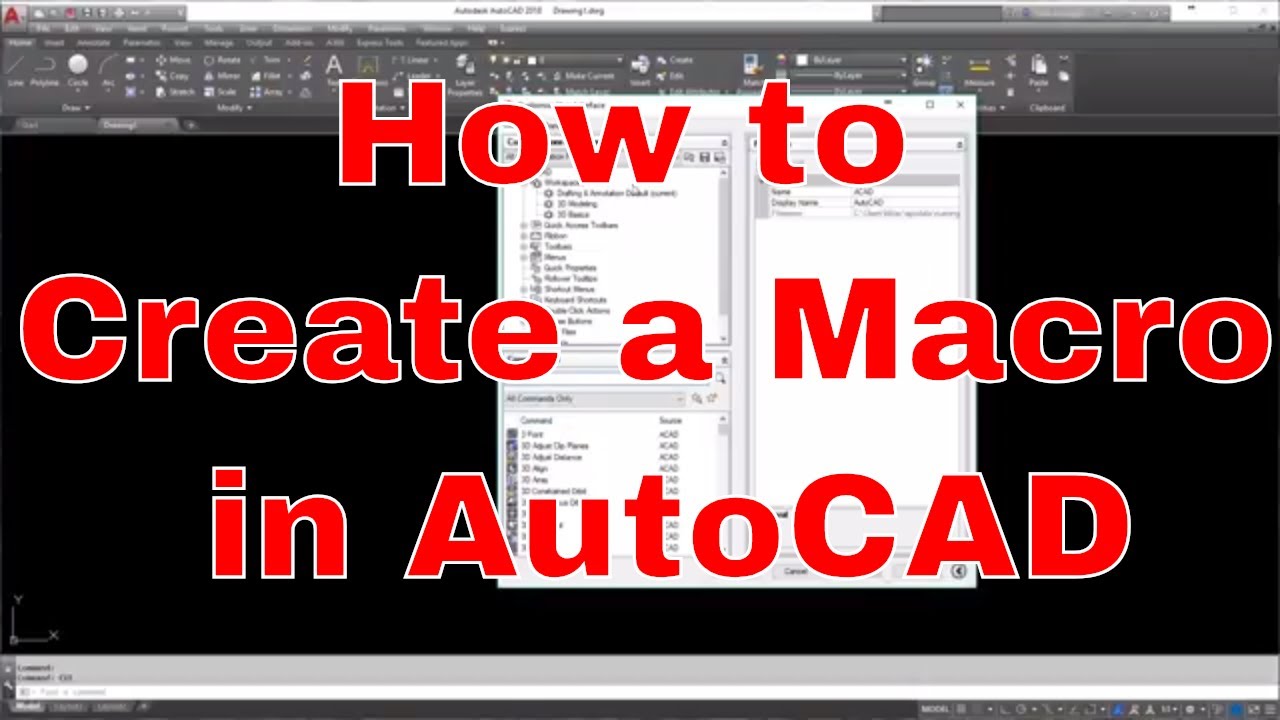
Unleashing Creativity and Efficiency: A Comprehensive Guide to Creating and Using Custom Macros in Autodesk Electrical

Autodesk Electrical offers a plethora of features to streamline the design process, and among them, the ability to create and use custom macros stands out for its potential to enhance efficiency, automate repetitive tasks, and unlock new levels of productivity. In this extensive guide, we will explore the ins and outs of creating and using custom macros in Autodesk Electrical, providing step-by-step instructions, best practices, and expert insights to help users harness the full potential of this powerful tool.
Understanding Custom Macros in Autodesk Electrical
Custom macros in Autodesk Electrical are predefined sequences of commands or actions that users can create to automate repetitive tasks, streamline workflow, and enhance productivity. These macros can be tailored to meet specific project requirements, allowing users to perform complex tasks with a single click of a button. Key features and benefits of custom macros include:
- Automation: Automates repetitive tasks, such as inserting standard components, creating connections, or running design checks, to save time and effort.
- Customization: Allows users to create personalized macros tailored to their specific workflow preferences and project requirements.
- Efficiency: Enhances workflow efficiency by eliminating manual steps and reducing the risk of errors or inconsistencies.
- Productivity: Boosts productivity by enabling users to complete tasks more quickly and focus on higher-value design activities.
Creating Custom Macros in Autodesk Electrical
Now, let’s explore the step-by-step process of creating custom macros in Autodesk Electrical:
Step 1: Accessing the Macro Recorder
- Launch Autodesk Electrical and open the drawing or project where you want to create the custom macro.
- Navigate to the “Manage” tab on the ribbon toolbar.
- Click on the “Macro Recorder” button to activate the Macro Recorder mode.
Step 2: Recording Macro Actions
- With the Macro Recorder mode activated, perform the sequence of commands or actions that you want to include in the macro.
- Execute commands, navigate menus, and interact with the interface as you normally would while the Macro Recorder captures your actions.
Step 3: Stopping and Saving the Macro
- Once you have completed the sequence of actions, stop the Macro Recorder by clicking on the “Stop Recording” button.
- Save the recorded macro and give it a descriptive name to easily identify its purpose and functionality.
Using Custom Macros in Autodesk Electrical
After creating custom macros, users can easily access and execute them to automate tasks and streamline workflow:
Step 1: Accessing the Macro Library
- Navigate to the “Manage” tab on the ribbon toolbar.
- Click on the “Macros” button to access the Macro Library, where all custom macros are stored.
Step 2: Running a Custom Macro
- In the Macro Library, select the custom macro you want to execute.
- Click on the “Run” button to execute the selected macro, which will perform the predefined sequence of actions.
Step 3: Assigning Macros to Buttons or Shortcuts (Optional)
- For frequently used macros, consider assigning them to buttons on the ribbon toolbar or keyboard shortcuts for quick and easy access.
- Customize the user interface by adding buttons or keyboard shortcuts to execute specific macros directly.
Best Practices for Creating and Using Custom Macros
To optimize the creation and usage of custom macros in Autodesk Electrical, consider the following best practices:
- Start Simple: Begin by creating simple macros to automate basic tasks before tackling more complex workflows.
- Test and Validate: Thoroughly test and validate macros to ensure they perform as expected and produce the desired results.
- Documentation: Document the purpose, functionality, and usage instructions for each custom macro for reference and training purposes.
- Version Control: Maintain version control of macros to track changes and revisions and facilitate collaboration among design team members.
Conclusion
Custom macros in Autodesk Electrical are invaluable tools for designers seeking to enhance efficiency, productivity, and automation in their workflows. By following the step-by-step guide and best practices outlined in this comprehensive guide, users can effectively harness the power of custom macros to streamline repetitive tasks, automate complex workflows, and unlock new levels of productivity in their projects. Whether you’re a seasoned professional or a novice user, mastering the creation and usage of custom macros will empower you to optimize your workflow, accelerate project delivery, and achieve greater success with Autodesk Electrical.


