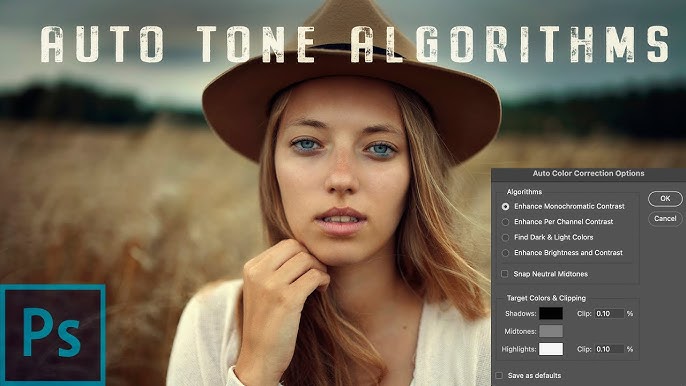
Mastering Image Enhancement: A Comprehensive Guide to Auto Tone, Auto Contrast, and Auto Color in Photoshop

Introduction:
Adobe Photoshop stands as the premier software for image manipulation and enhancement, providing a vast array of tools and features for photographers, graphic designers, and digital artists. Among the many tools at your disposal are the Auto Tone, Auto Contrast, and Auto Color functions, designed to streamline and automate the process of adjusting the tonal range, contrast, and color balance in your images. In this extensive guide, we will delve into the functionalities, applications, and nuances of Auto Tone, Auto Contrast, and Auto Color in Photoshop, empowering users to harness these tools effectively for impeccable image enhancement.
I. Auto Tone: Unveiling the Power of Automated Tonal Adjustments
A. Understanding Auto Tone:
- Auto Tone is a feature in Photoshop designed to automatically adjust the tonal values of an image to achieve a balanced and visually pleasing result.
- The tool analyzes the distribution of dark, mid-tone, and highlight values, then optimizes them for a well-balanced image.
B. Application of Auto Tone:
- Auto Tone is particularly useful in situations where an image lacks optimal exposure or has uneven tonal values.
- By using Auto Tone, users can quickly enhance the overall brightness and contrast, providing a solid foundation for further adjustments.
C. How to Use Auto Tone:
- Open your image in Photoshop.
- Navigate to “Image” in the menu bar, then choose “Auto Tone.”
D. Customizing Auto Tone Results:
- While Auto Tone provides automatic adjustments, users can fine-tune the results by manually adjusting exposure, contrast, and other parameters.
II. Auto Contrast: Enhancing Image Dynamics with Automated Contrast Adjustments
A. Exploring Auto Contrast:
- Auto Contrast is a feature designed to automatically adjust the contrast of an image based on its existing tonal range.
- The tool aims to enhance the dynamic range, making dark areas darker and light areas lighter for a more visually appealing result.
B. Application of Auto Contrast:
- Auto Contrast is beneficial when an image lacks punch or appears flat due to insufficient contrast.
- It works well in balancing the distribution of tones, especially in images with varying lighting conditions.
C. How to Use Auto Contrast:
- Open your image in Photoshop.
- Go to “Image” in the menu bar, then select “Auto Contrast.”
D. Fine-Tuning Auto Contrast:
- Users can further refine the results of Auto Contrast by manually adjusting the levels, curves, or using other contrast enhancement tools.
III. Auto Color: Achieving Harmonious Color Balance Automatically
A. Unveiling Auto Color:
- Auto Color is a tool in Photoshop designed to automatically adjust the color balance of an image.
- It analyzes the existing color channels and applies corrections to ensure a harmonious and natural color representation.
B. Application of Auto Color:
- Auto Color is particularly useful in correcting color casts, white balance issues, or when an image exhibits color imbalances.
- It aims to provide a neutral and visually pleasing color rendition.
C. How to Use Auto Color:
- Open your image in Photoshop.
- Navigate to “Image” in the menu bar, then choose “Auto Color.”
D. Refining Auto Color Results:
- While Auto Color provides automatic corrections, users can manually tweak the color balance using tools like the Color Balance adjustment layer.
IV. Best Practices for Using Auto Tone, Auto Contrast, and Auto Color
A. Understanding Limitations:
- While these tools offer quick solutions, they may not always produce the desired results, especially in complex images.
- Users should be aware of their limitations and be prepared to apply additional adjustments manually.
B. Combine with Manual Adjustments:
- To achieve optimal results, it’s often recommended to use Auto Tone, Auto Contrast, and Auto Color as a starting point, combining them with manual adjustments for fine-tuning.
- Manual adjustments allow for greater control and precision in enhancing specific aspects of an image.
C. Consider Image Characteristics:
- The effectiveness of these tools may vary based on the content and characteristics of an image.
- Consider the nature of the image, lighting conditions, and intended visual impact when deciding which tool to use.
D. Non-Destructive Editing:
- Utilize adjustment layers or make adjustments in a non-destructive manner to preserve the original image data.
- Non-destructive editing ensures flexibility for future modifications without compromising image quality.
V. Conclusion: Elevating Your Image Enhancement Workflow
In conclusion, mastering Auto Tone, Auto Contrast, and Auto Color in Photoshop empowers users to expedite the image enhancement process while maintaining a high level of control and flexibility. This comprehensive guide has explored the functionalities, applications, and best practices for using these automated tools, providing users with the knowledge and skills to achieve impeccable results in their image editing endeavors. By understanding the nuances of these features and incorporating them into a broader editing workflow, users can elevate their creative output and bring out the full potential of their images in Adobe Photoshop.


