Step-by-Step Guide: How to Partition and Format a Hard Drive Safely
Step-by-Step Guide How to Partition and Format a Hard Drive Safely
Organizing storage, getting new drives ready for usage, and maintaining the efficiency of the system are all important tasks that may be accomplished via the partitioning and formatting of a hard disk. By following these steps in the correct order, you can ensure that your data will remain safe and that the drive will function to its full potential, regardless of whether you are installing a brand-new hard drive or reorganizing an existing one. It is possible to safely partition and format your hard drive in Windows 11 with the assistance of this guide, which provides detailed explanations of each step.
Gaining an Understanding of Formatting and Partitioning
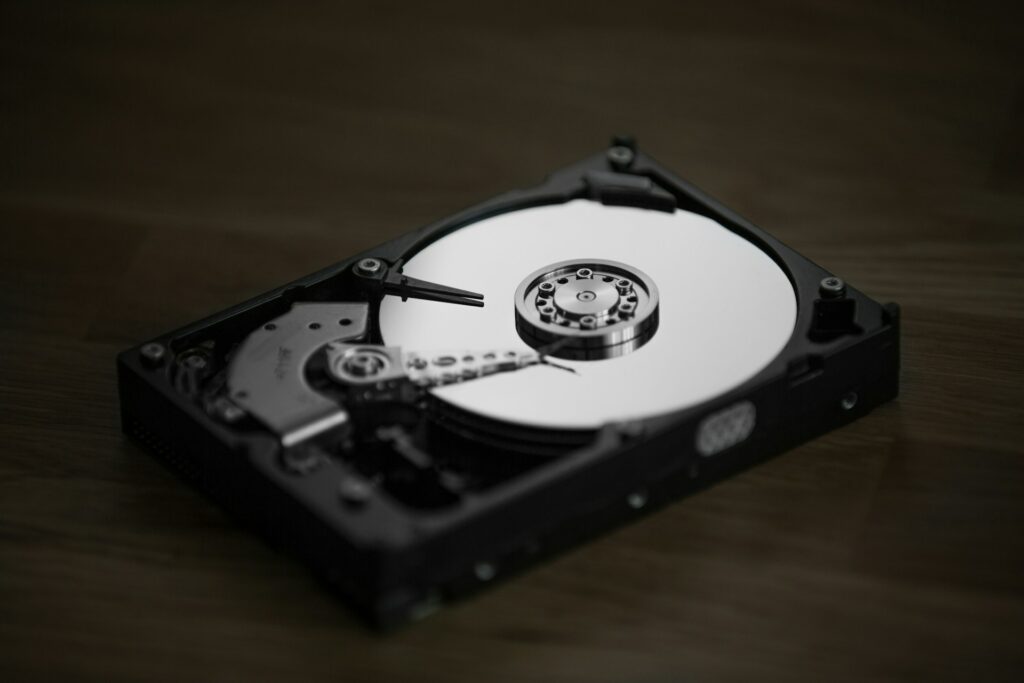
A hard drive is a physical storage device; however, in order for the operating system to be able to manage the data when it is stored on the hard drive, the hard drive must first have a logical structure. The partitioning and formatting processes come into play at this point. The process of partitioning separates a hard disk into distinct pieces that are referred to as partitions. Each partition functions as a standalone drive and may be allocated its own letter, such as “C:” or “D:”.
On the other hand, formatting is the process of assigning a file system to a partition to make it ready for use. Examples of file systems are NTFS, FAT32, and exFAT. This process erases any existing data and sets up the necessary structure for the operating system to store and retrieve files efficiently.
Preparing for the Process
Before you begin, it’s necessary to take some measures. If there are already essential data stored on the hard drive, you should back them up to a different place, such as an external drive or anything that is stored in the cloud. After formatting and partitioning a disk, everything on the drive will be removed, and it may be difficult or even impossible to retrieve any data previously stored on the drive.
In addition to this, you need to check that the drive is connected to your computer in the correct manner. If you are working with an internal drive, make sure it is securely installed inside your computer. It is recommended that you connect the drive through a USB or SATA port if it is an external or secondary drive.
Using Windows 11 to get access to the Disk Management
Windows contains a built-in utility called Disk Management, which provides a simple interface for partitioning and formatting disks. Clicking the Start button with your right mouse button and selecting Disk Management from the menu will allow you to open it.
You will be presented with a list of all of the storage devices that are connected when the tool opens. Each disk is presented with its partitions, sizes, and current status. A black bar is shown to indicate the presence of unallocated space, which is a representation of regions of the drive that have not yet been partitioned.
Initializing a New Hard Drive
The Windows operating system will prompt you to initialize a brand-new hard drive before allowing you to create partitions if you have just connected it. As the partition style, you will be required to select either the Master Boot Record (MBR) or the GUID Partition Table (GPT).
When compared to GPT, which is designed for more recent systems that use UEFI firmware and supports much larger drives, MBR is compatible with older systems and can support drives that are up to 2 terabytes in size. GPT also offers enhanced data security via redundancy. GPT is the option that is recommended for the majority of present-day computers. In order to initialize the disk, click the OK button once you have chosen the partition style.
Creating a New Partition
Following the completion of the disk’s initialization, the subsequent step is to establish a new partition. In the Disk Management window, identify the unallocated area, right-click it, and choose New Simple Volume. When you click the button, the New Simple Volume Wizard will appear and walk you through the instructions.
In order to create the new partition, you will be required to specify its size. In the event that you want to utilize the whole disk as a single partition, you should not modify the value. The complete amount of space that is accessible may be partitioned into distinct volumes if you would want to have many partitions for reasons of better organization.
Following this, you will need to assign a drive letter that will assist you in identifying the partition, such as D: or E:. After that, choose the different types of file systems. Not only can NTFS accommodate huge files, but it also provides improved security protections, making it a perfect choice for Windows installations. After giving the partition a name under the Volume Label section, which will make it simpler to identify, pick the Perform a Quick Format option to expedite the processing of the partition. You may now build the division by clicking the Finish button.
Setting up a Partition That Already Exists
Within Disk Management, you have the ability to simply format partitions that are already present on the disk. This may be done for a variety of reasons, including the need to clean them up or to modify the file system. Right-click the partition you wish to format and select Format. When you need to select a file system, allocation unit size, and volume label, a dialog box will appear and prompt you to make your selection.
Please be sure that you have chosen the appropriate partition, since formatting will delete all of the files that are stored on that sector. Once approved, click OK, and Windows will swiftly format the chosen partition. The partition will be immediately ready for use once the formatting process is complete.
Finding the Appropriate File System to Use
The file system that you choose is determined by the way in which you want to utilize the drive. The most popular file system for Windows drives is known as NTFS, which stands for New Technology File System. This format is an excellent choice for internal system drives and for storing large files. FAT32 works with most devices and operating systems but has a 4 GB file capacity restriction, making it suited primarily for smaller drives like USB flash drives. exFAT is appropriate for external devices shared between Windows and macOS since it offers huge files without the compatibility limits of FAT32.
Testing the Drive Following the Formatting Process
Immediately following the completion of the formatting procedure, you need to make sure that the drive is operating as it should. When you launch File Explorer, you will find the disk that has been formatted displayed under the heading “This PC.” Transferring data, installing software, and using the drive as a backup place are all now possible with this device.
Windows Error Checking is another tool that should be utilized to perform a speedy health check on your computer. Right-click the drive, pick Properties, go to the Tools tab, and click Check. It is because of this that there are no faults or faulty sectors that might result in the loss of data in the future.
Adjusting or Deleting Partitions
Changes to the size of a partition may be made via Disk Management if you ever find yourself in need of such a modification. When you right-click the partition that you wish to modify, pick the Extend Volume option to make the partition larger, or select the Shrink Volume option to make it smaller.
To entirely erase a partition, right-click it and select Delete Volume. Since the space will once again become unallocated, you will have the opportunity to construct new partitions or mix it with those that are already in place. If you delete volumes, you should exercise care since doing so will permanently destroy all of the data that is contained inside them.
Safety Advice for the Administration of Hard Drives
Before taking any action, it is imperative that you always double-check the chosen disk and partition before proceeding with any partitioning or formatting. The loss of data might be irreversible if mistakes are made. It is important to refrain from disrupting the procedure while it is in progress and to ensure that your computer is kept turned on during the whole process.
Consider performing periodic scans with chkdsk or other third-party drive monitoring tools in order to identify potential problems at an earlier stage. This will ensure long-term reliability. In addition, it is recommended to maintain frequent backups of vital data on an external drive or in the cloud in order to avoid the loss of data in the event of a breakdown.
Partitioning and formatting a hard drive may seem complex at first, but with the right steps, it becomes a safe and straightforward process. You are able to easily create, adjust, or remove partitions and format drives for any purpose by utilizing the built-in Disk Management tool that comes with Windows.
Because you have taken the time to plan out the layout of your partitions and select the appropriate file system, you can ensure that your storage devices will have improved organization, performance, and longevity. After you have finished these procedures, your hard drive will be ready for usage in a manner that is both efficient and safe, whether it is for the installation of a system, the backup of data, or the storing of files on a daily basis.