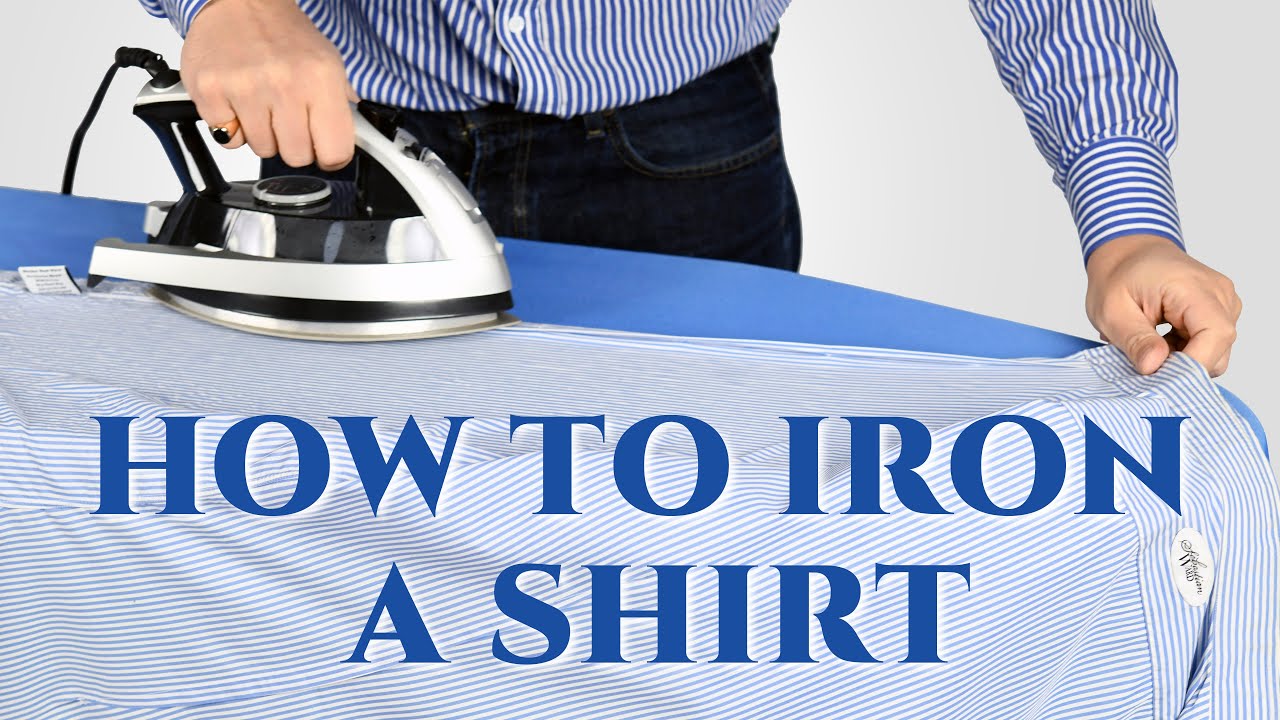
How to iron a shirt: A Comprehensive Guide

Ironing a shirt is a skill that combines both artistry and practicality, transforming wrinkled fabric into crisp, professional attire. Whether you’re preparing for a job interview, a formal event, or simply want to look sharp for everyday wear, mastering the art of ironing can significantly enhance your appearance and confidence. This comprehensive guide will take you through the step-by-step process of ironing a shirt to perfection, covering everything from preparation to finishing touches.
Step 1: Gather Your Tools and Materials
Before you begin, gather the necessary tools and materials:
Tools:
- Iron (steam iron recommended)
- Ironing board
- Spray bottle filled with water (optional)
- Hangers or a flat surface for hanging shirts
Materials:
- Clean, dry shirt (preferably washed and dried beforehand)
- Distilled water (if using steam iron)
- Starch or sizing spray (optional for crispness)
Step 2: Prepare Your Ironing Area
- Set Up Your Ironing Board:
- Ensure the ironing board is sturdy and set to a comfortable height for you to work.
- Place the ironing board near an electrical outlet and in a well-ventilated area.
- Fill the Iron:
- Fill the water reservoir of your steam iron with distilled water if necessary. Check the manufacturer’s instructions for your specific iron model.
Step 3: Heat Up the Iron
- Turn On the Iron:
- Plug in the iron and set it to the appropriate heat setting for your shirt’s fabric. Common settings include cotton, linen, wool, and synthetic blends.
- Allow the iron to heat up fully before beginning to iron.
Step 4: Ironing Process
- Start with the Collar:
- Lay the shirt flat on the ironing board with the collar facing up.
- Iron the underside of the collar first, then flip it over and iron the top side.
- Pay attention to the points of the collar to ensure they are smooth and flat.
- Iron the Yoke:
- Move to the yoke (the panel across the shoulders at the back of the shirt).
- Smooth out any wrinkles and press from the center towards the edges.
- Iron the Sleeves:
- Lay one sleeve flat on the ironing board with the seam facing up.
- Start ironing from the shoulder down to the cuff, using smooth, even strokes.
- Flip the sleeve over and repeat on the other side.
- Pay attention to the cuffs and press them flat.
- Iron the Body of the Shirt:
- Lay the body of the shirt flat on the ironing board with the buttons facing down.
- Start ironing from the top of the shirt down towards the bottom.
- Use the tip of the iron to navigate around buttons and seams.
- Pull the fabric taut as you iron to smooth out wrinkles effectively.
- Front Panels and Plackets:
- Iron each front panel separately, starting from the shoulder and working your way down to the hem.
- Pay attention to the placket (the strip of fabric with buttons and buttonholes) and ensure it lies flat.
- Final Touches:
- Hang the shirt immediately after ironing to prevent wrinkles from forming.
- Optionally, use starch or sizing spray lightly on areas that need extra crispness.
- Allow the shirt to cool and set for a few minutes before wearing or storing.
Step 5: Tips for Success
- Follow Fabric Care Labels: Check the care label on your shirt for specific ironing instructions.
- Iron Inside Out: For delicate fabrics or those prone to shine, iron the shirt inside out.
- Use Steam Effectively: Use steam to help remove stubborn wrinkles and create a smoother finish.
- Practice Patience: Ironing takes practice. Be patient and take your time to achieve the desired results.
Step 6: Troubleshooting
- Shine or Burn Marks: Adjust the heat setting of the iron or use a pressing cloth (a thin cotton cloth) to protect delicate fabrics.
- Creases Around Buttons: Iron carefully around buttons or use the tip of the iron to press areas close to buttons.
Step 7: Aftercare
- Store Properly: Hang freshly ironed shirts in a closet or wardrobe to maintain their crispness.
- Touch-Up as Needed: Use a handheld steamer or iron to touch up shirts between wearings.
Conclusion
Mastering the art of ironing a shirt not only enhances your appearance but also extends the lifespan of your clothing. With the right tools, techniques, and a bit of practice, you can transform wrinkled fabric into a crisp, professional garment that boosts your confidence in any setting. Whether preparing for work, a special occasion, or everyday wear, following this comprehensive guide will ensure you achieve impeccable results every time you iron a shirt.


