Mastering Image Insertion in Adobe Dreamweaver: A Comprehensive Guide for Web Designers

Introduction: Images are a cornerstone of web design, adding visual appeal, conveying information, and enhancing user engagement. Adobe Dreamweaver, a powerful web development tool, provides designers and developers with versatile features for inserting and managing images in web projects. In this comprehensive guide, we’ll explore the step-by-step process of inserting images in Adobe Dreamweaver, covering everything from basic image insertion to advanced techniques and optimization strategies.
Section 1: Understanding the Role of Images in Web Design 1.1 Importance of Images: Discuss the significance of images in web design, including their ability to attract attention, evoke emotions, and communicate complex ideas. 1.2 Visual Storytelling: Explore how images contribute to storytelling on the web, creating immersive experiences and reinforcing brand identity. 1.3 Accessibility Considerations: Highlight the importance of optimizing images for accessibility, including providing alternative text, using descriptive filenames, and ensuring proper contrast ratios.
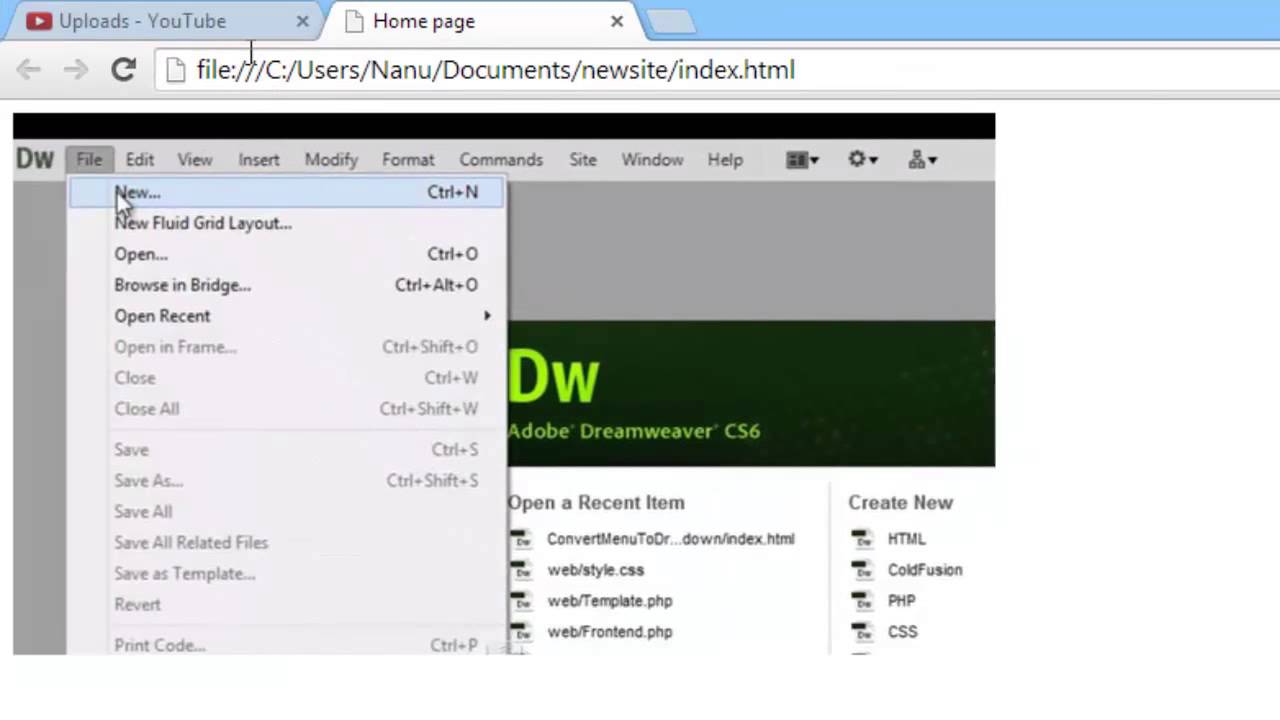
Section 2: Getting Started with Image Insertion in Adobe Dreamweaver 2.1 Launching Adobe Dreamweaver: Open Adobe Dreamweaver on your computer to begin the image insertion process. 2.2 Creating or Opening a Web Page: Create a new HTML file or open an existing web page project where you want to insert images. 2.3 Navigating to Design View: Switch to Design View in Dreamweaver to visualize the layout of your web page and identify areas for image insertion.
Section 3: Inserting Images from External Sources 3.1 Using the Insert Panel: Access the Insert panel in Dreamweaver’s toolbar or menu to insert images from external sources. 3.2 Image Placeholder: Insert an image placeholder in Dreamweaver to reserve space for an image that will be added later. 3.3 Inserting Images from Files: Import images from your local computer by selecting the “Image” option in the Insert panel and browsing to the desired image file. 3.4 Inserting Images from URLs: Insert images from external URLs by entering the image URL directly into the Image Properties dialog box in Dreamweaver.
Section 4: Image Optimization and Formatting 4.1 Image Optimization: Optimize images for web display by reducing file size, compressing images, and selecting appropriate file formats (JPEG, PNG, GIF) to ensure fast loading times. 4.2 Image Dimensions: Specify the width and height dimensions of images in Dreamweaver to control their display size and aspect ratio on the web page. 4.3 Image Alignment: Align images horizontally and vertically within designated areas on the web page layout using alignment options in Dreamweaver. 4.4 Image Borders and Margins: Add custom borders, margins, and padding to images in Dreamweaver to enhance their visual presentation and integrate them seamlessly into the page layout.
Section 5: Working with Image Properties 5.1 Alt Text: Provide descriptive alternative text (alt text) for images in Dreamweaver to improve accessibility and ensure that visually impaired users can understand the content. 5.2 Image Title and Description: Enter optional title and description attributes for images in Dreamweaver to provide additional context and improve search engine optimization (SEO). 5.3 Image Linking: Create clickable image links in Dreamweaver by specifying a destination URL or linking to other pages within your website, enhancing user interaction and navigation. 5.4 Image Rollover Effects: Implement image rollover effects in Dreamweaver using CSS or JavaScript to create interactive and engaging user experiences.
Section 6: Advanced Image Techniques 6.1 Image Galleries: Create image galleries and slideshows in Dreamweaver using built-in features or third-party extensions to showcase multiple images in a visually appealing manner. 6.2 Image Sprites: Consolidate multiple images into a single sprite sheet in Dreamweaver to reduce HTTP requests and optimize performance, especially for small icons and buttons. 6.3 Responsive Images: Implement responsive image techniques in Dreamweaver to ensure images adapt dynamically to different screen sizes and viewport dimensions, improving user experience on mobile devices. 6.4 Image Optimization Tools: Utilize external image optimization tools and services to further optimize images for web display, including lossless compression, image format conversion, and lazy loading.
Section 7: Testing and Previewing Images 7.1 Preview in Browser: Preview your web page in different browsers and devices within Dreamweaver to ensure consistent rendering and display of images across platforms. 7.2 Image Performance Testing: Test the performance of your web page using browser developer tools or online testing tools to identify and address image-related performance issues. 7.3 Accessibility Testing: Conduct accessibility testing of your web page using screen reader software or browser extensions to ensure images are properly labeled and accessible to all users.
Section 8: Best Practices and Tips 8.1 File Naming Conventions: Use descriptive filenames for images and adhere to consistent file naming conventions to facilitate organization and management of image assets. 8.2 Image Compression: Strike a balance between image quality and file size by optimizing image compression settings to achieve fast loading times without sacrificing visual fidelity. 8.3 Image Copyright and Licensing: Respect copyright laws and licensing agreements when using images in web projects, including obtaining permission or licensing rights for copyrighted images. 8.4 Image Backup and Versioning: Maintain backups of original image files and implement version control practices to track changes and revisions, ensuring data integrity and continuity.
Section 9: Troubleshooting and FAQs 9.1 Common Image Insertion Issues: Address common issues encountered during image insertion in Dreamweaver, such as broken image links, incorrect image dimensions, and accessibility errors. 9.2 Frequently Asked Questions: Provide answers to frequently asked questions about inserting images in Adobe Dreamweaver, covering topics such as image optimization, image rollovers, and responsive images.
Conclusion: By following this comprehensive guide, you’ve mastered the art of inserting images in Adobe Dreamweaver, unlocking endless possibilities for visual storytelling and user engagement in your web projects. With its intuitive tools and versatile features, Dreamweaver empowers you to seamlessly integrate images into your web design, creating captivating and immersive user experiences. Now, armed with the knowledge and skills, unleash your creativity, experiment with images, and elevate your web design to new heights. Happy designing!


