


How to Build a “Silent PC”: The Best Fanless Cases and Passive Cooling Components for 2026
How to Build a "Silent PC": The Best Fanless Cases and Passive Cooling Components for 2026 The construction of a...
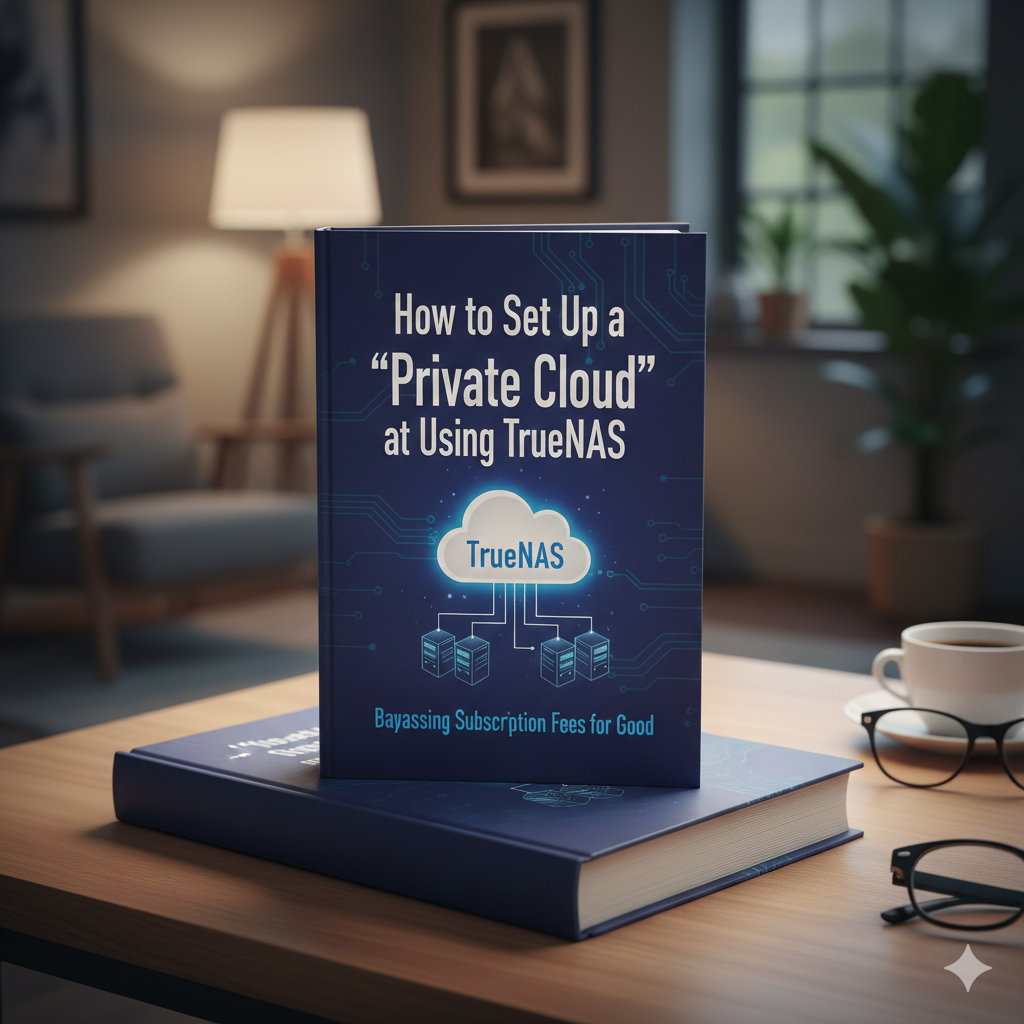
 How to Set Up a “Private Cloud” at Home Using TrueNAS: Bypassing Subscription Fees for Good
  The Guide to “Green IT”: How to Reduce Your Company’s Server Energy Consumption and Carbon Footprint
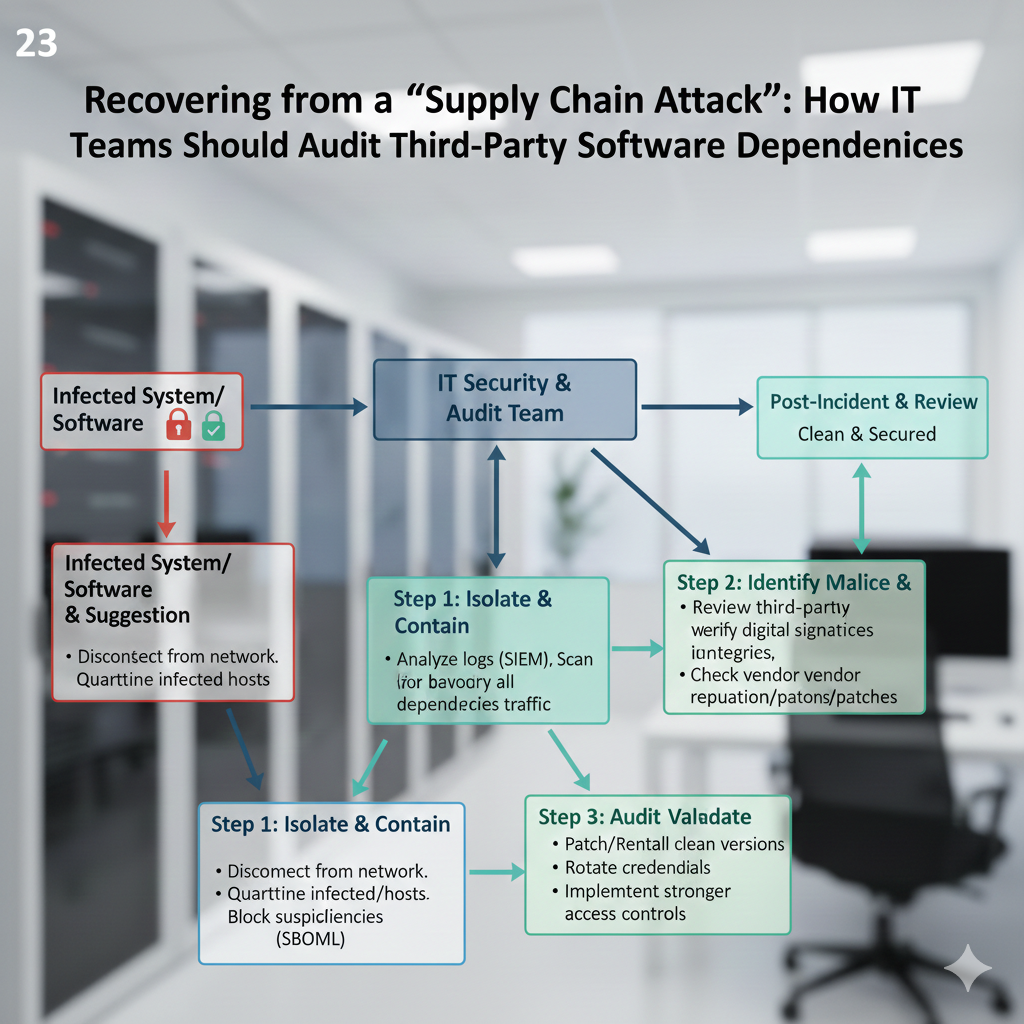
  Recovering from a “Supply Chain Attack”: How IT Teams Should Audit Third-Party Software Dependencies
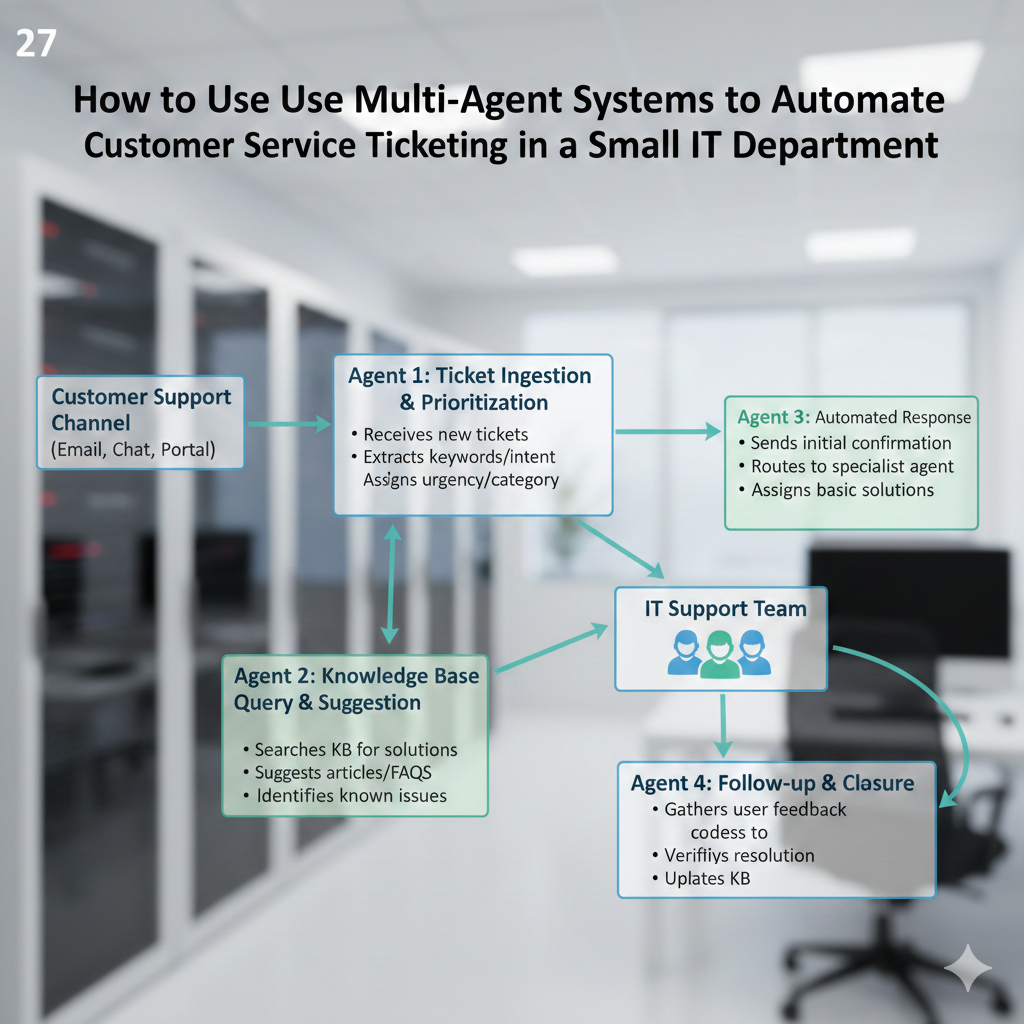
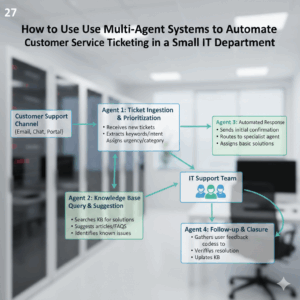
 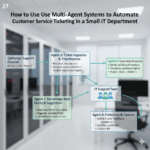 How to Use “Multi-Agent Systems” to Automate Customer Service Ticketing in a Small IT Department
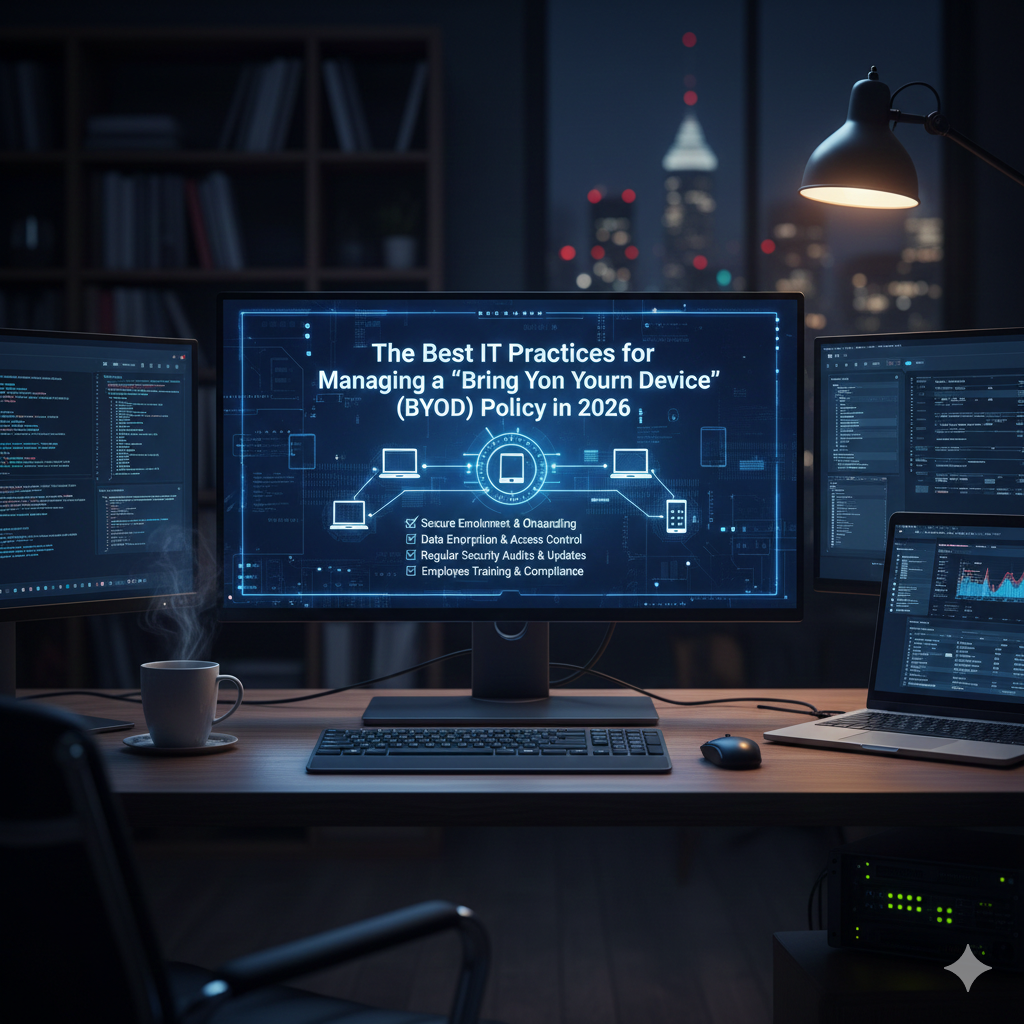
  The Best IT Practices for Managing a “Bring Your Own Device” (BYOD) Policy in 2026
 How to Build a "Silent PC": The Best Fanless Cases and Passive Cooling Components for 2026 The construction of a...

How to Set Your Freelance Rates and Negotiate with Clients When it comes to developing a sustainable freelance job, one...

How to Build a Personal Portfolio Website Without Coding Putting up a website that serves as a personal portfolio is...

Step-by-Step Guide How to Find Your First Client as a Freelancer Starting out on your adventure as a freelancer may...

How to Create a Winning Freelance Profile on Fiverr and Upwork Developing a powerful profile as a freelancer on online...
How to Create a Full System Backup and Restore It Easily It is one of the most critical measures you...

How to Install and Update Drivers Manually in Windows Drivers are vital bits of software that allow communication between your...