


How to Detect “Deepfake” Audio in Corporate Meetings: The New Frontier of IT Security Training
How to Detect "Deepfake" Audio in Corporate Meetings: The New Frontier of IT Security Training As the field of artificial...
 How to Set Up a “Private Cloud” at Home Using TrueNAS: Bypassing Subscription Fees for Good
  The Guide to “Green IT”: How to Reduce Your Company’s Server Energy Consumption and Carbon Footprint
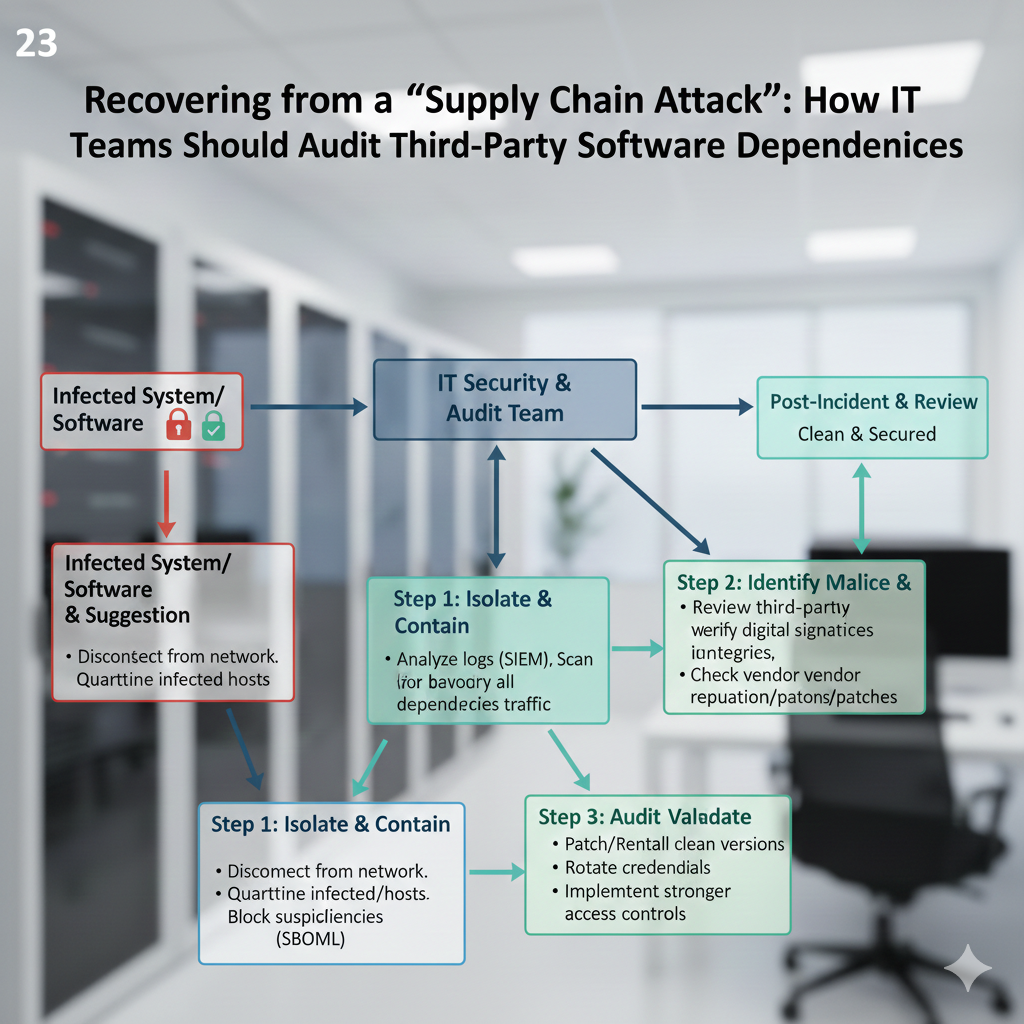
 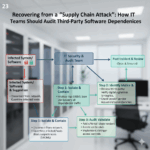 Recovering from a “Supply Chain Attack”: How IT Teams Should Audit Third-Party Software Dependencies
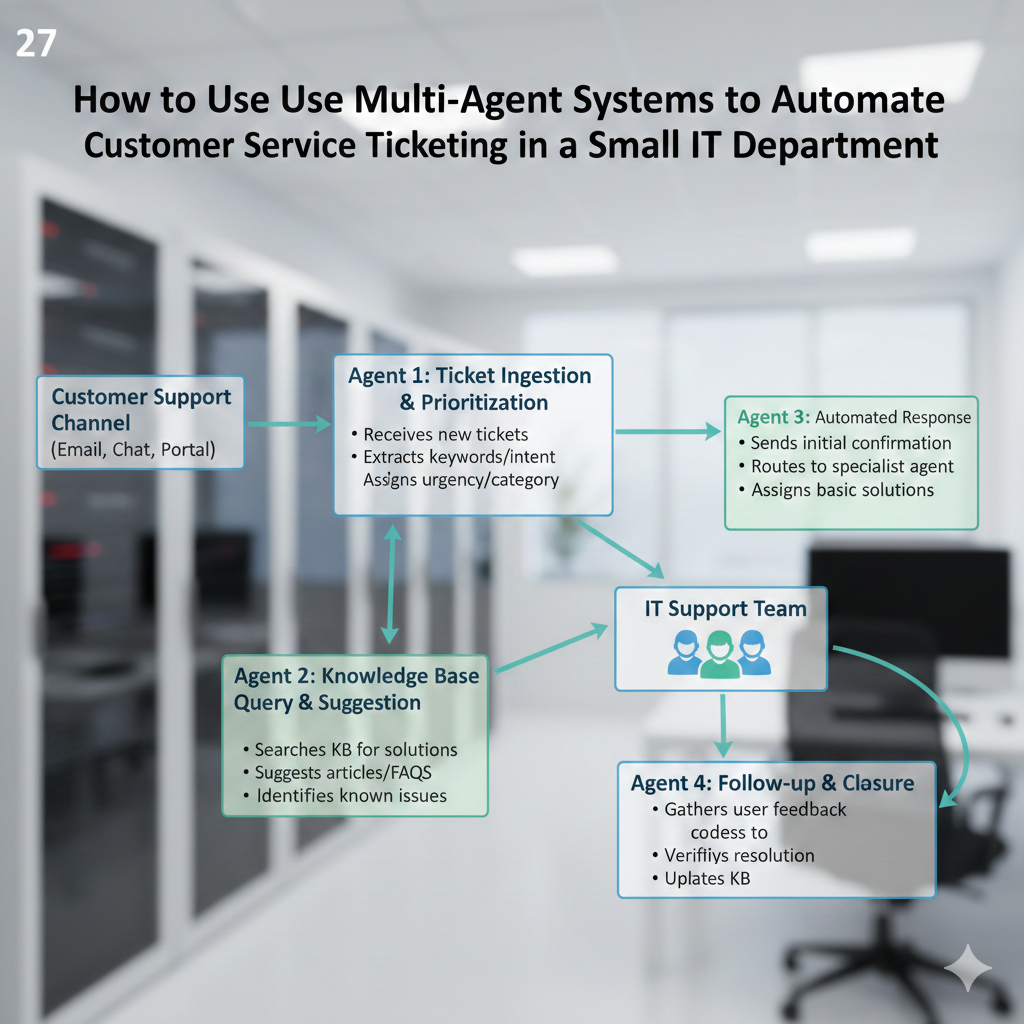
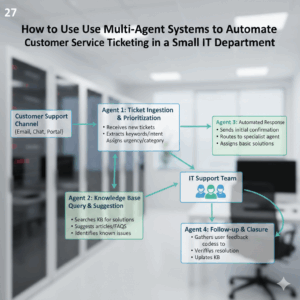
  How to Use “Multi-Agent Systems” to Automate Customer Service Ticketing in a Small IT Department
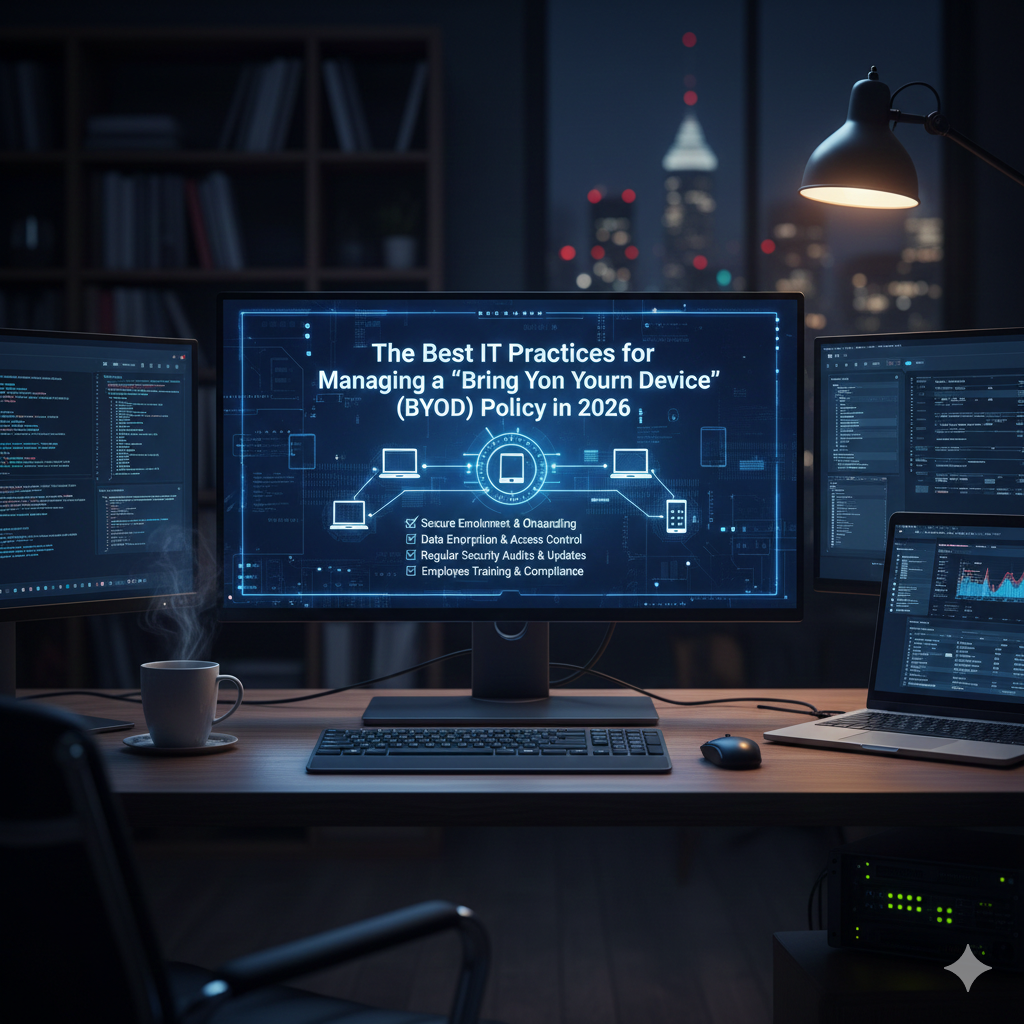
  The Best IT Practices for Managing a “Bring Your Own Device” (BYOD) Policy in 2026
 How to Detect "Deepfake" Audio in Corporate Meetings: The New Frontier of IT Security Training As the field of artificial...
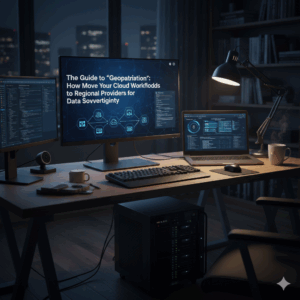
The Guide to "Geopatriation": How to Move Your Cloud Workloads to Regional Providers for Data Sovereignty It is becoming more...
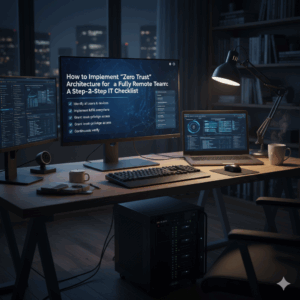
How to Implement "Zero Trust" Architecture for a Fully Remote Team: A Step-by-Step IT Checklist Traditional perimeter-based security methods are...

Freelancing in the "Silver Economy": How to Provide Tech Support and Digital Setup for Seniors "Silver economy" is a term...

How to Use "Claude Code" to Build Custom Software Tools for Your Freelance Clients Without a CS Degree The provision...

The Best Ergonomic Home Office Setup for Freelancers: Reducing Neck Pain and Eye Strain for Long Sessions Freelancing often means...

How to Find International Clients Who Pay in Stablecoins: A Freelancer’s Guide to Crypto Payments Due to the fact that...