


How to Use SQLite with Python: A Comprehensive Guide
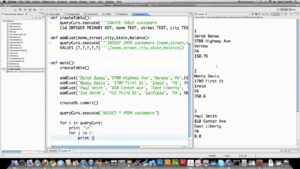
Introduction to SQLite SQLite is a lightweight, file-based database engine that doesn't require a separate server process. It's embedded into...
 How to Use “Claude Code” to Build Custom Software Tools for Your Freelance Clients Without a CS Degree
  The Best Ergonomic Home Office Setup for Freelancers: Reducing Neck Pain and Eye Strain for Long Sessions
  How to Find International Clients Who Pay in Stablecoins: A Freelancer’s Guide to Crypto Payments
  Managing “Scope Creep” in the Age of AI: How to Price Freelance Services When Tools Make Work Faster
  How to Set Up a “Local-First” Freelance Portfolio Using Obsidian and Quartz for Maximum Speed
 Introduction to SQLite SQLite is a lightweight, file-based database engine that doesn't require a separate server process. It's embedded into...
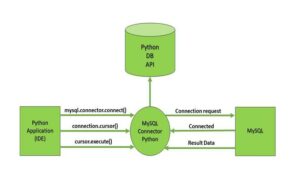
Introduction Python, with its simplicity and versatility, has become a popular choice for interacting with databases. This article will delve...
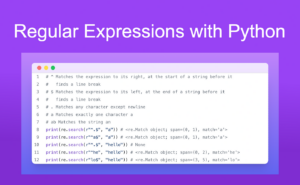
Introduction to Regular Expressions Regular expressions, often abbreviated as regex or regexp, are sequences of characters that define a search...

Managing remote teams has become increasingly prevalent in today's globalized and digital workforce. Effective management of remote teams requires unique...

Negotiating contracts is a critical skill for businesses and professionals involved in various transactions, agreements, and partnerships. Effective contract negotiation...

Choosing the right business software is crucial for enhancing productivity, streamlining operations, and achieving strategic objectives within an organization. Whether...
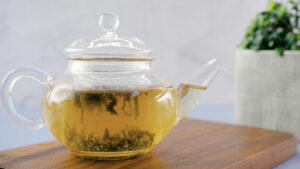
Brewing tea leaves is a time-honored tradition that involves more than just steeping—it's about unlocking the nuanced flavors and aromas...