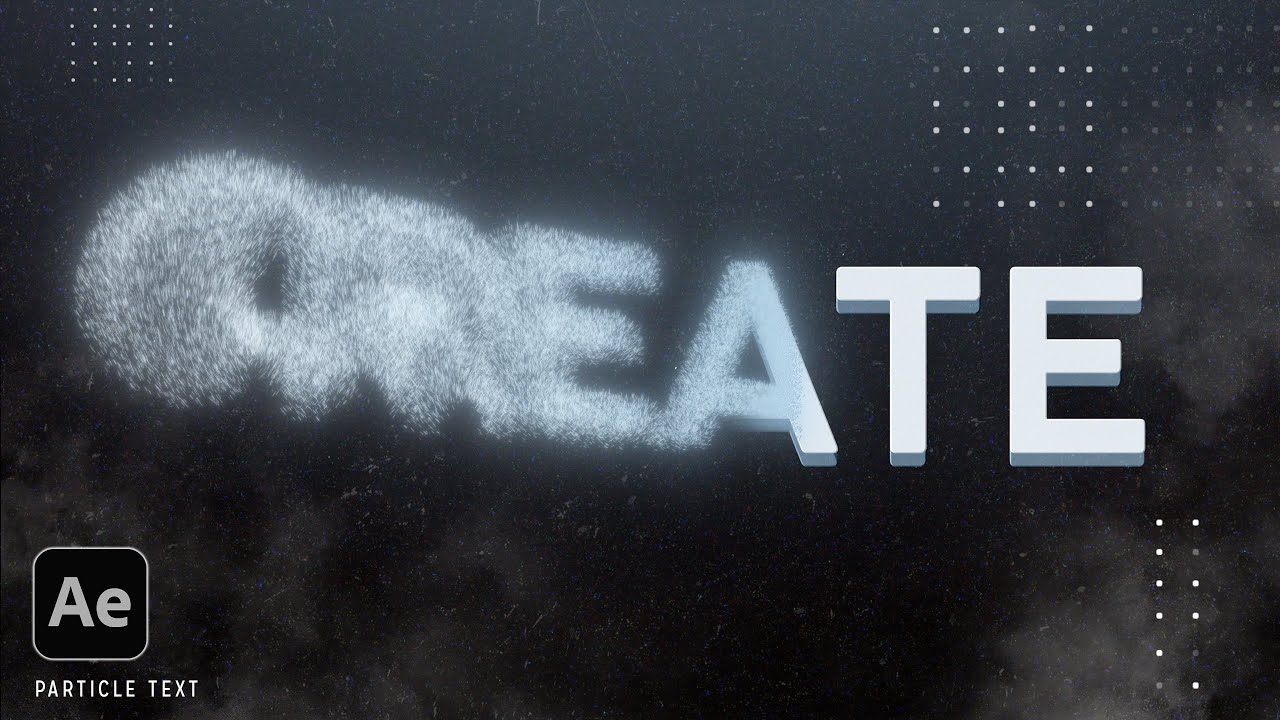
Mastering Particle Text Animation: A Comprehensive Guide to Creating Stunning Effects in Adobe After Effects

Introduction: Particle text animation stands as a powerful technique for adding dynamic motion and visual interest to text elements in video projects. Adobe After Effects provides a robust set of tools and features for creating particle animations, allowing designers and animators to unleash their creativity and bring their typography to life. In this comprehensive guide, we will explore the step-by-step process of creating particle text animations in After Effects, from setting up the project to adding intricate particle effects and animations.
Understanding Particle Text Animation: Before diving into the creation process, it’s essential to understand what particle text animation is and how it enhances visual storytelling. Particle text animation involves using particle systems to generate dynamic effects around text elements, such as sparks, fire, smoke, or abstract shapes. These particles can move, rotate, and interact with each other, creating mesmerizing visuals that captivate viewers’ attention and convey emotions or concepts.
Step 1: Setting Up the Project The first step in creating a particle text animation is to set up the project in Adobe After Effects. Open After Effects and create a new composition by selecting “Composition” > “New Composition” from the menu. Set the dimensions, duration, frame rate, and other settings according to your project requirements. Import your text or typography assets into the composition and arrange them as desired.
Step 2: Adding a Particle System Once your text is in place, it’s time to add a particle system to generate dynamic effects around it. In After Effects, you can use the built-in Particle World effect or third-party plugins like Trapcode Particular or Stardust to create particle animations. Apply the particle effect to a new solid layer in your composition and adjust the settings to customize the appearance, behavior, and movement of the particles.
Step 3: Configuring Particle Settings With the particle system applied, delve into the settings to fine-tune the appearance and behavior of the particles. Experiment with parameters such as particle type, size, lifespan, velocity, gravity, and turbulence to achieve the desired look and feel. You can also adjust settings like emitter position, direction, and shape to control where and how particles are emitted around the text.
Step 4: Animating Particle Motion To create dynamic motion and movement in your particle text animation, animate the properties of the particle system over time. Use keyframes to animate parameters such as particle position, rotation, scale, opacity, and color to add variation and complexity to the animation. Experiment with different animation techniques, such as easing, oscillation, or randomization, to create organic and visually engaging particle effects.
Step 5: Enhancing Visual Effects To enhance the visual impact of your particle text animation, consider adding additional effects and elements to the composition. Experiment with effects like glow, blur, distortion, or color correction to add depth, dimension, and atmosphere to the animation. You can also incorporate other visual elements, such as background images, textures, or footage, to complement the particle effects and create a cohesive visual style.
Step 6: Refining and Polishing Once you’ve created the basic particle text animation, take the time to refine and polish the final result. Fine-tune the timing, duration, and speed of the animation to ensure smooth and cohesive motion. Pay attention to details like particle density, distribution, and interaction with the text to achieve a balanced and visually pleasing composition. Preview the animation in real-time and make adjustments as needed to achieve the desired effect.
Step 7: Exporting the Animation With your particle text animation complete, it’s time to export it for use in your video projects. In After Effects, select “Composition” > “Add to Render Queue” to add the composition to the render queue. Configure the render settings, such as output format, resolution, and compression settings, and click “Render” to export the animation as a video file or image sequence.
Conclusion: Creating particle text animations in Adobe After Effects opens up a world of creative possibilities for designers, animators, and video editors. By following the step-by-step process outlined in this guide, you can design stunning visual effects that enhance your typography and bring your motion graphics to life. Experiment with different particle systems, animation techniques, and visual effects to create dynamic and engaging compositions that captivate viewers’ attention and convey your message with impact. Whether you’re creating title sequences, promotional videos, or experimental animations, particle text animation offers a versatile and powerful tool for elevating your visual storytelling and unleashing your creativity.


