


Freelancers and Digital Burnout: Technology-Driven Solutions
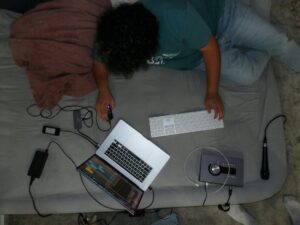
Freelancers and Digital Burnout: Technology-Driven Solutions Freelancers and independent workers who spend lengthy hours online handling various projects, client interactions,...
 How to Use “Claude Code” to Build Custom Software Tools for Your Freelance Clients Without a CS Degree
  The Best Ergonomic Home Office Setup for Freelancers: Reducing Neck Pain and Eye Strain for Long Sessions
  How to Find International Clients Who Pay in Stablecoins: A Freelancer’s Guide to Crypto Payments
  Managing “Scope Creep” in the Age of AI: How to Price Freelance Services When Tools Make Work Faster
  How to Set Up a “Local-First” Freelance Portfolio Using Obsidian and Quartz for Maximum Speed
 Freelancers and Digital Burnout: Technology-Driven Solutions Freelancers and independent workers who spend lengthy hours online handling various projects, client interactions,...

How Local Computing Is Making a Comeback Alongside Cloud Services Over the last several years, cloud computing has been the...

The Impact of Automation Tools on Freelance Pricing Models The way that freelancers approach pricing and project management is being...

Why System Resource Monitoring Is a Must for Power Users It is essential for power users to manage the performance...
How Collaborative Software Is Redefining Solo Freelancing Freelancing on one's own has historically been a solitary activity, with independent professionals...

The Future of Personal Computing in an AI-First World The landscape of personal computing is experiencing a significant upheaval as...

How Freelancers Can Build Scalable Tech Stacks Without Teams Freelancers often confront the issue of managing complicated projects that call...