 How to Set Up a “Private Cloud” at Home Using TrueNAS: Bypassing Subscription Fees for Good
  The Guide to “Green IT”: How to Reduce Your Company’s Server Energy Consumption and Carbon Footprint
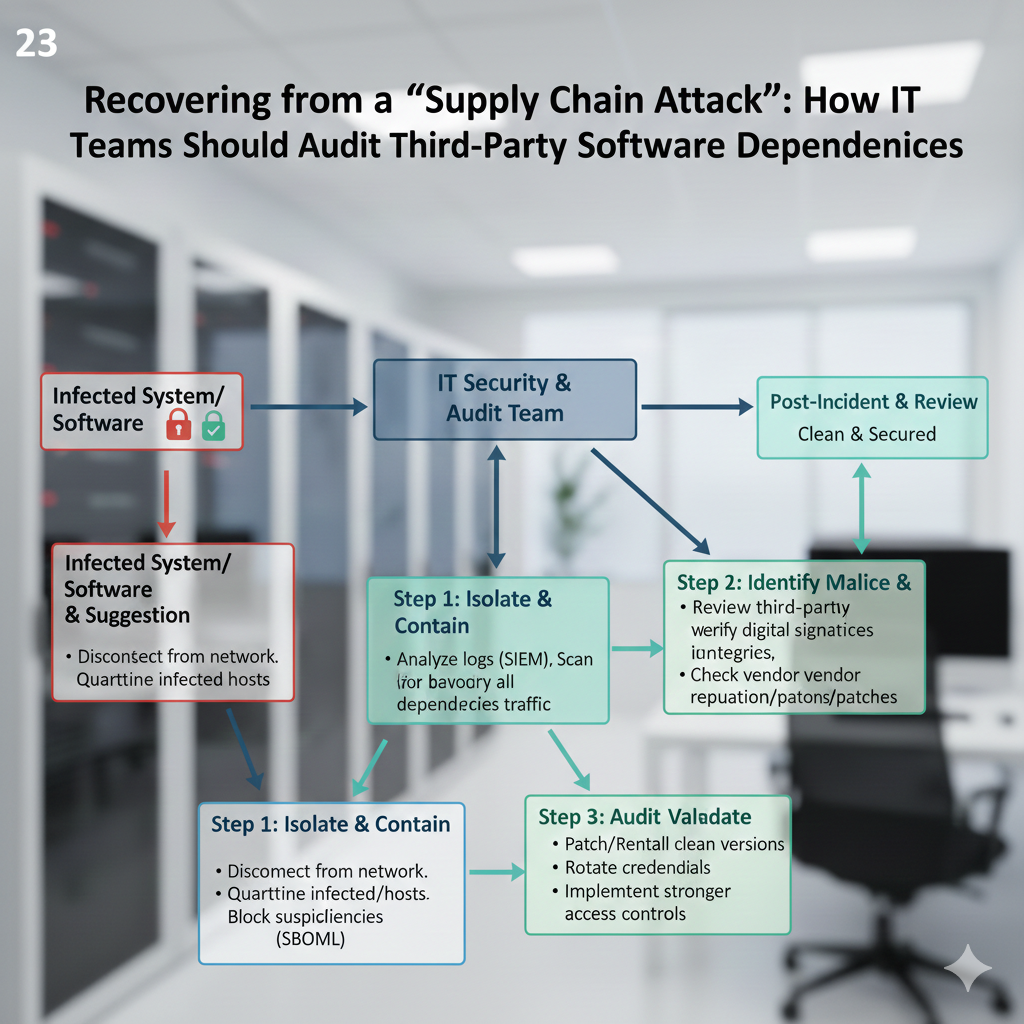
  Recovering from a “Supply Chain Attack”: How IT Teams Should Audit Third-Party Software Dependencies
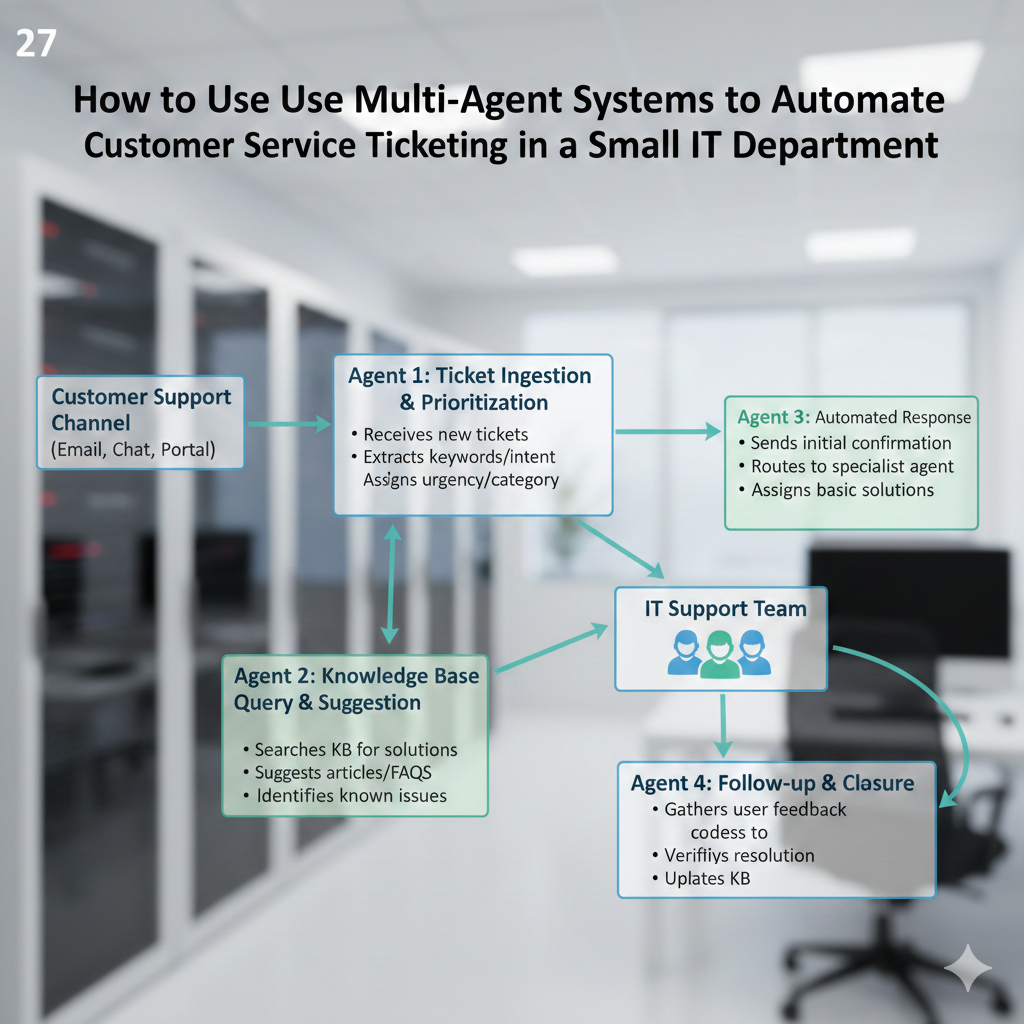
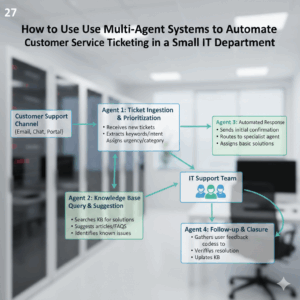
  How to Use “Multi-Agent Systems” to Automate Customer Service Ticketing in a Small IT Department
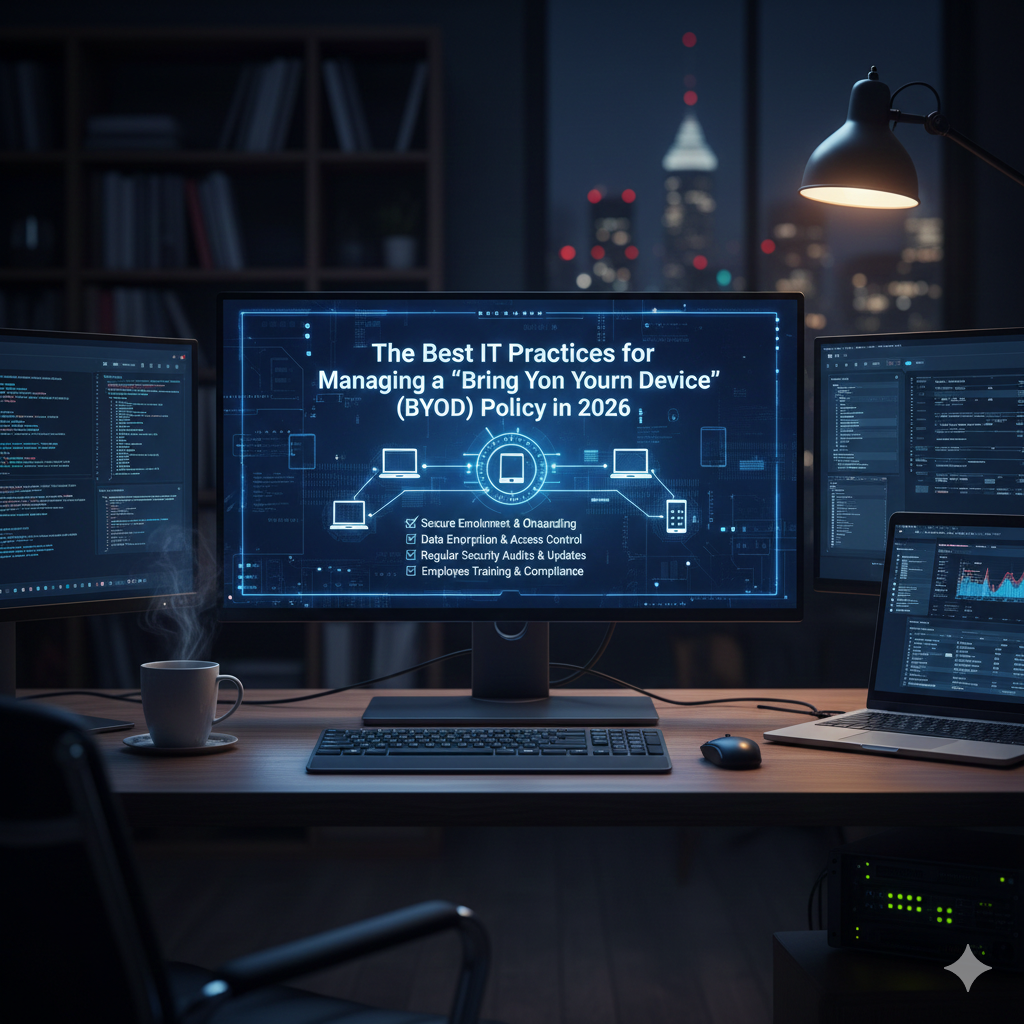
  The Best IT Practices for Managing a “Bring Your Own Device” (BYOD) Policy in 2026


“The Litigators” by John Grisham: A Legal Thriller Unraveling the Complexities of Ambition, Ethics, and the Legal System
Introduction John Grisham's "The Litigators" is a gripping legal thriller that immerses readers in the high-stakes world of litigation while...