The Best Ergonomic Home Office Setup for Freelancers: Reducing Neck Pain and Eye Strain for Long Sessions
  How to Find International Clients Who Pay in Stablecoins: A Freelancer’s Guide to Crypto Payments
  Managing “Scope Creep” in the Age of AI: How to Price Freelance Services When Tools Make Work Faster
  How to Set Up a “Local-First” Freelance Portfolio Using Obsidian and Quartz for Maximum Speed
  The Best Upwork Niches for 2026: Why Cybersecurity Consulting is the New High-Paying Frontier


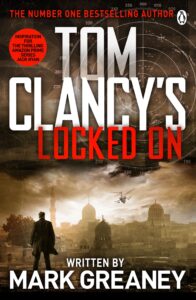
“Locked On” by Mark Greaney and Tom Clancy: A Pulse-Pounding Espionage Thriller Examining Global Tensions and Technological Warfare
Introduction "Locked On," a collaborative work by Mark Greaney and the late Tom Clancy, stands as a gripping addition to...