


Exploring the Legacy of Windows 7 Desktop Gadgets: A Comprehensive Examination
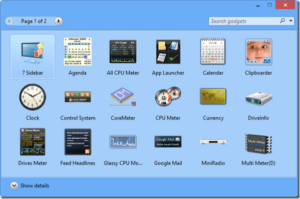
Introduction: Windows 7, released by Microsoft in 2009, introduced several innovative features that revolutionized the computing experience for users worldwide....
 The Best Ergonomic Home Office Setup for Freelancers: Reducing Neck Pain and Eye Strain for Long Sessions
  How to Find International Clients Who Pay in Stablecoins: A Freelancer’s Guide to Crypto Payments
  Managing “Scope Creep” in the Age of AI: How to Price Freelance Services When Tools Make Work Faster
  How to Set Up a “Local-First” Freelance Portfolio Using Obsidian and Quartz for Maximum Speed
  The Best Upwork Niches for 2026: Why Cybersecurity Consulting is the New High-Paying Frontier
 Introduction: Windows 7, released by Microsoft in 2009, introduced several innovative features that revolutionized the computing experience for users worldwide....

Introduction: In the world of digital photography and graphic design, the ability to sharpen images effectively can make a significant...

Introduction: Leyna Krow's "Fire Season: A Novel" is a mesmerizing and thought-provoking work of fiction that immerses readers in the...

Introduction: Microsoft Office has long been the go-to suite of productivity tools for individuals, students, and businesses worldwide. However, its...
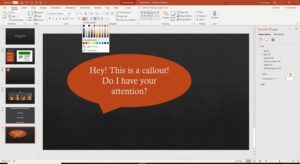
Introduction: In today's digital age, effective visual communication is essential for capturing audience attention, conveying messages clearly, and engaging viewers....
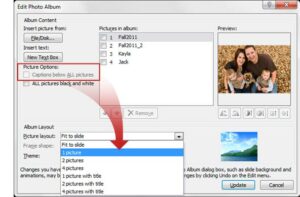
Introduction: In today's digital age, visual storytelling has become a powerful tool for communication, engagement, and connection. PowerPoint, a versatile...
Introduction: Slide Master View is a powerful feature in PowerPoint 2010 that allows presenters to create and customize slide layouts,...