


Navigating the Troublesome Waters of the Blue Screen of Death (BSOD) in Laptops: A Comprehensive Guide
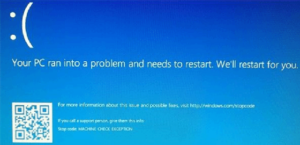
The Blue Screen of Death (BSOD) is a dreaded sight for laptop users, signaling a critical system error that can...
 The Best Ergonomic Home Office Setup for Freelancers: Reducing Neck Pain and Eye Strain for Long Sessions
  How to Find International Clients Who Pay in Stablecoins: A Freelancer’s Guide to Crypto Payments
  Managing “Scope Creep” in the Age of AI: How to Price Freelance Services When Tools Make Work Faster
  How to Set Up a “Local-First” Freelance Portfolio Using Obsidian and Quartz for Maximum Speed
  The Best Upwork Niches for 2026: Why Cybersecurity Consulting is the New High-Paying Frontier
 The Blue Screen of Death (BSOD) is a dreaded sight for laptop users, signaling a critical system error that can...

In today's digital age, laptops have become essential tools for work, communication, and entertainment. However, alongside the convenience and connectivity...
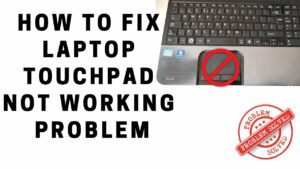
The keyboard and touchpad are essential input devices that facilitate user interaction with laptops, allowing for text entry, navigation, and...
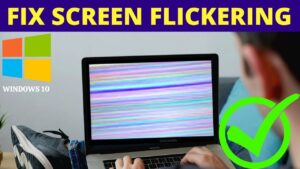
The laptop screen flickering issue is a common annoyance that can disrupt productivity, strain the eyes, and cause frustration for...

In the modern era, laptops have become indispensable tools for work, education, and entertainment. However, like any electronic device, laptops...
Plugin compatibility issues can be a significant hurdle for users of Adobe Audition, disrupting workflow and hindering the creative process....
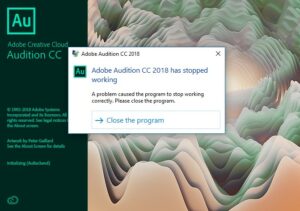
Crashes and freezing are unwelcome interruptions that can impede the creative process and frustrate users of Adobe Audition. Whether you're...