


Mastering Editing Efficiency: A Comprehensive Guide on How to Use the Ripple Delete Feature in Final Cut Pro
Introduction: Final Cut Pro is a powerful video editing software used by professionals and enthusiasts alike to create stunning videos....
 The Best Ergonomic Home Office Setup for Freelancers: Reducing Neck Pain and Eye Strain for Long Sessions
  How to Find International Clients Who Pay in Stablecoins: A Freelancer’s Guide to Crypto Payments
  Managing “Scope Creep” in the Age of AI: How to Price Freelance Services When Tools Make Work Faster
  How to Set Up a “Local-First” Freelance Portfolio Using Obsidian and Quartz for Maximum Speed
  The Best Upwork Niches for 2026: Why Cybersecurity Consulting is the New High-Paying Frontier
 Introduction: Final Cut Pro is a powerful video editing software used by professionals and enthusiasts alike to create stunning videos....

Introduction: Fisheye distortion is a common issue encountered when capturing footage with wide-angle lenses or action cameras. This distortion creates...
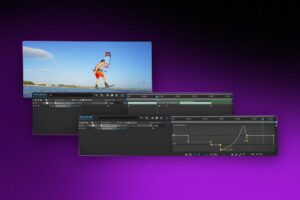
Introduction: Time remapping is a powerful technique used in motion graphics and video editing to manipulate the speed and timing...

Introduction: Audio ducking is a crucial technique in video editing that helps balance the volume levels between dialogue and background...
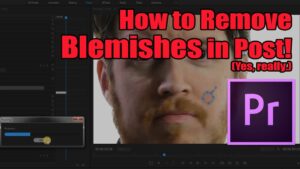
Introduction: In the world of video production, achieving flawless visuals is often paramount to creating professional-quality content. Whether you're working...

Introduction: Video montages are a powerful way to compile and showcase a collection of photos, videos, and memories into a...

Introduction: Keyframe animation is a fundamental technique in the world of visual effects and motion graphics, allowing creators to bring...