


Mastering Particle Text Animation: A Comprehensive Guide to Creating Stunning Effects in Adobe After Effects
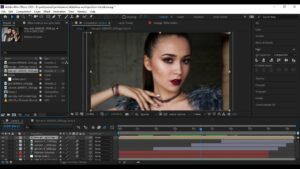
Introduction: Particle text animation stands as a powerful technique for adding dynamic motion and visual interest to text elements in...
 How to Use “Claude Code” to Build Custom Software Tools for Your Freelance Clients Without a CS Degree
  The Best Ergonomic Home Office Setup for Freelancers: Reducing Neck Pain and Eye Strain for Long Sessions
  How to Find International Clients Who Pay in Stablecoins: A Freelancer’s Guide to Crypto Payments
  Managing “Scope Creep” in the Age of AI: How to Price Freelance Services When Tools Make Work Faster
  How to Set Up a “Local-First” Freelance Portfolio Using Obsidian and Quartz for Maximum Speed
 Introduction: Particle text animation stands as a powerful technique for adding dynamic motion and visual interest to text elements in...

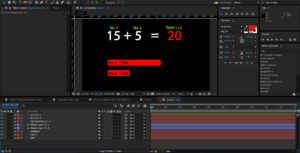
Introduction: Motion graphics have become an integral part of visual storytelling across various media platforms, from film and television to...
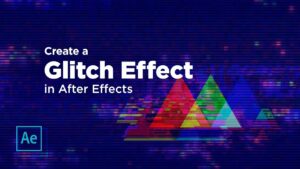
Introduction: Glitch effects are a popular visual technique used in film, television, music videos, and digital media to create a...
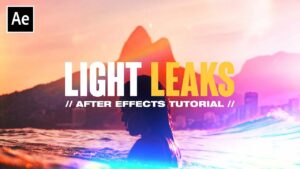
Introduction: Light leak effects add a touch of vintage charm, warmth, and whimsy to videos, evoking a sense of nostalgia...
Introduction: Slideshows are a popular and versatile way to showcase photographs, videos, and other visual content in a dynamic and...
Introduction: Slideshows are a popular and versatile way to showcase photographs, videos, and other visual content in a dynamic and...
Introduction: Stabilizing footage is a crucial step in video production, especially when dealing with shaky or handheld footage. Adobe After...