


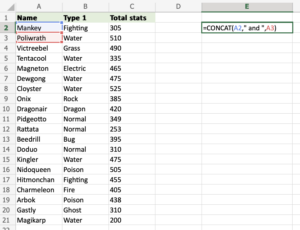
Excel Data Concatenation Unleashed: A Comprehensive Guide to Harnessing the CONCAT Function
Introduction: In the vast landscape of spreadsheet manipulation, Excel offers an arsenal of functions to empower users to concatenate, manipulate,...
 How to Use “Claude Code” to Build Custom Software Tools for Your Freelance Clients Without a CS Degree
  The Best Ergonomic Home Office Setup for Freelancers: Reducing Neck Pain and Eye Strain for Long Sessions
  How to Find International Clients Who Pay in Stablecoins: A Freelancer’s Guide to Crypto Payments
  Managing “Scope Creep” in the Age of AI: How to Price Freelance Services When Tools Make Work Faster
  How to Set Up a “Local-First” Freelance Portfolio Using Obsidian and Quartz for Maximum Speed
 Introduction: In the vast landscape of spreadsheet manipulation, Excel offers an arsenal of functions to empower users to concatenate, manipulate,...

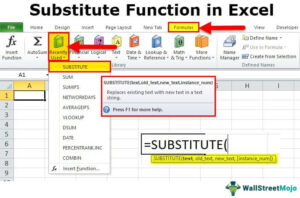
Introduction: In the realm of spreadsheet manipulation, Excel offers a plethora of functions to empower users to extract, manipulate, and...

Introduction: In the world of spreadsheet manipulation, Excel offers an array of powerful functions to help users extract, manipulate, and...
Introduction: In the realm of spreadsheet manipulation, Excel offers a plethora of functions to empower users to transform and manipulate...
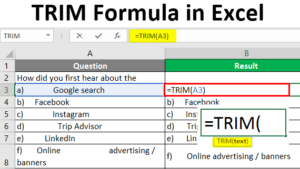
Introduction: In the world of spreadsheet management, ensuring clean and accurate data is paramount. Excel, with its array of powerful...

In the highly competitive realm of e-commerce, sellers are continually seeking innovative strategies to capture consumer attention, drive traffic, and...
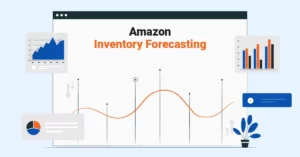
In the dynamic and competitive landscape of e-commerce, effective inventory planning is essential for success. By accurately forecasting demand, sellers...