


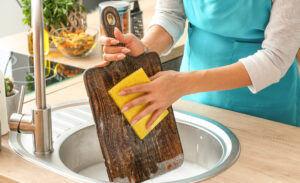
Comprehensive Guide: How to Clean a Cutting Board
Cleaning a cutting board is essential not only for maintaining hygiene but also for preserving its quality and extending its...
 How to Use “Claude Code” to Build Custom Software Tools for Your Freelance Clients Without a CS Degree
  The Best Ergonomic Home Office Setup for Freelancers: Reducing Neck Pain and Eye Strain for Long Sessions
  How to Find International Clients Who Pay in Stablecoins: A Freelancer’s Guide to Crypto Payments
  Managing “Scope Creep” in the Age of AI: How to Price Freelance Services When Tools Make Work Faster
  How to Set Up a “Local-First” Freelance Portfolio Using Obsidian and Quartz for Maximum Speed
 Cleaning a cutting board is essential not only for maintaining hygiene but also for preserving its quality and extending its...

Polishing men's shoes is not just about enhancing their appearance; it's a ritual that extends the life of your footwear...
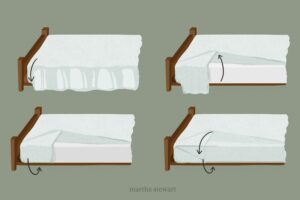
Making a bed is more than just arranging sheets and pillows—it's a daily ritual that sets the tone for comfort...

A squeaky door can be a persistent annoyance in any home or building, disrupting peace and privacy with its repetitive...

Optimizing startup programs is crucial for improving your computer's boot time and overall performance. When too many programs launch automatically...

Setting up dual monitors can significantly enhance productivity and multitasking capabilities by expanding your desktop workspace. Whether for work, gaming,...
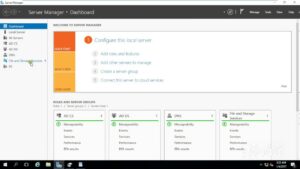
Configuring RAID (Redundant Array of Independent Disks) involves setting up multiple physical hard drives to work together as a single...