
Crafting a Winter Wonderland: A Comprehensive Guide on How to Add Falling Snow to Photos with Photoshop
Winter landscapes adorned with falling snowflakes evoke a sense of enchantment and tranquility. Adding this ethereal element to your photos...
Winter landscapes adorned with falling snowflakes evoke a sense of enchantment and tranquility. Adding this ethereal element to your photos...

Adobe Photoshop stands as the cornerstone of digital image manipulation, offering a myriad of tools to transform creative visions into...
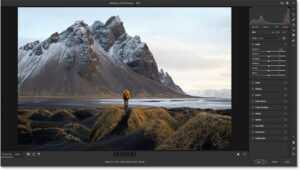
Adobe Camera Raw (ACR), a robust plugin for Adobe Photoshop, serves as a digital darkroom for photographers and graphic designers,...
Adobe Photoshop, a powerhouse in graphic design, offers a plethora of tools and features to bring your creative visions to...

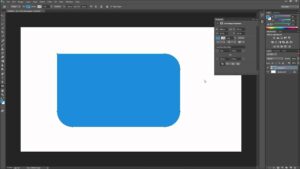
Introduction: Adobe Photoshop, a playground for digital artists and designers, provides a rich canvas for creative expression. As projects evolve,...

Introduction: In the realm of digital imaging, the pursuit of crispness and clarity is paramount. Adobe Photoshop, a haven for...
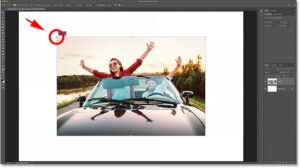
Introduction: In the dynamic world of digital imaging, Adobe Photoshop stands as a beacon of creative prowess, constantly evolving to...