Harmony Unleashed: A Comprehensive Guide to the New Gradients and Gradients Panel in Photoshop CC 2020
Introduction: In the dynamic realm of digital design, the use of gradients adds depth, dimension, and visual intrigue to compositions....
Introduction: In the dynamic realm of digital design, the use of gradients adds depth, dimension, and visual intrigue to compositions....

Introduction: In the realm of digital design, color is the brushstroke that breathes life into visual compositions, creating a rich...

Introduction: The world of digital design is a vibrant canvas where color plays a pivotal role in conveying emotions, setting...

Introduction: In the dynamic landscape of modern design, the ability to work seamlessly across various devices and locations has become...
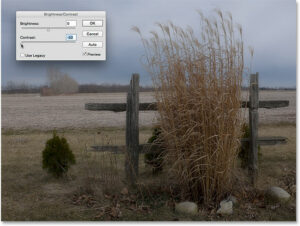
Introduction: Adobe Photoshop, a cornerstone in the realm of digital image editing, provides users with a myriad of tools to...

Introduction: Adobe Photoshop, a cornerstone of digital image editing, empowers users with a diverse range of tools and features. Among...
Introduction: Adobe Photoshop stands as the quintessential tool for image manipulation, offering a myriad of features for photographers, graphic designers,...