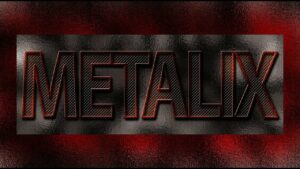
Forged in Fire: A Comprehensive Guide to Creating an Epic Metal Text Effect From Scratch
Introduction: The world of graphic design is a realm where creativity meets craftsmanship, and creating a metal text effect is...
Introduction: The world of graphic design is a realm where creativity meets craftsmanship, and creating a metal text effect is...

Introduction: In the world of graphic design and creative typography, the ability to make text not only convey a message...

Introduction: The realm of digital artistry constantly evolves, pushing creative boundaries and blurring the lines between reality and illusion. One...
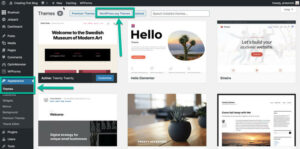
Introduction: In the vast digital landscape, starting a blog is a journey of self-expression, knowledge sharing, and potentially, a pathway...
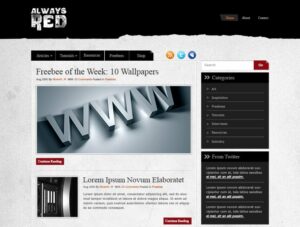
Introduction: In the ever-evolving landscape of web design, the minimalist approach has gained prominence for its clean, elegant, and user-friendly...
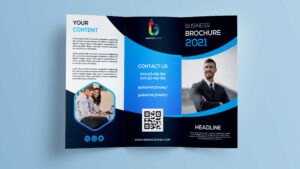
Introduction: In the dynamic realm of business, effective communication is paramount, and a well-crafted trifold brochure serves as a versatile...
Introduction: In the era of digital music streaming, the allure of retro aesthetics continues to captivate audiences, offering a nostalgic...