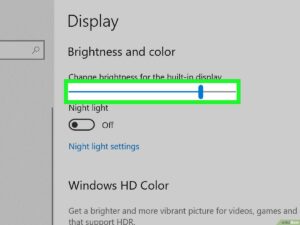
Mastering Color Contrast: A Comprehensive Guide to Enhancing Visual Accessibility in Windows 10
In today's digital world, accessibility is paramount. As technology becomes increasingly integrated into our daily lives, it's crucial to ensure...
In today's digital world, accessibility is paramount. As technology becomes increasingly integrated into our daily lives, it's crucial to ensure...
Introduction: WhatsApp has revolutionized the way we communicate, offering a convenient and versatile platform for staying connected with friends, family,...
Introduction: In today's digital age, having an engaging website is essential for businesses, bloggers, artists, and individuals looking to establish...
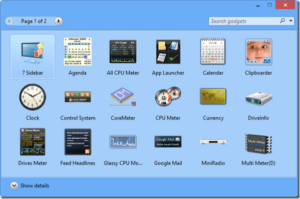
Introduction: Windows 7, released by Microsoft in 2009, introduced several innovative features that revolutionized the computing experience for users worldwide....

Introduction: In the world of digital photography and graphic design, the ability to sharpen images effectively can make a significant...

Introduction: Leyna Krow's "Fire Season: A Novel" is a mesmerizing and thought-provoking work of fiction that immerses readers in the...

Introduction: Microsoft Office has long been the go-to suite of productivity tools for individuals, students, and businesses worldwide. However, its...