Navigating the Complexity: Understanding Plugin Compatibility Issues in Adobe Audition
Plugin compatibility issues can be a significant hurdle for users of Adobe Audition, disrupting workflow and hindering the creative process....
Plugin compatibility issues can be a significant hurdle for users of Adobe Audition, disrupting workflow and hindering the creative process....
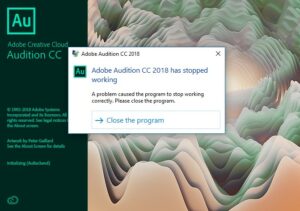
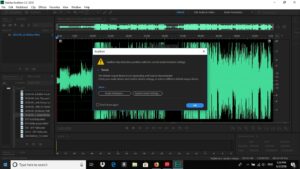
Crashes and freezing are unwelcome interruptions that can impede the creative process and frustrate users of Adobe Audition. Whether you're...
Audio playback issues can be a frustrating obstacle for users of Adobe Audition, disrupting workflow and hindering the creative process....
In the realm of video editing, the demand for high-resolution content continues to soar, with filmmakers, content creators, and enthusiasts...
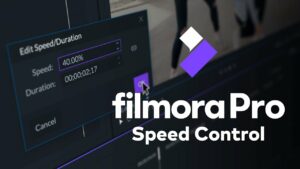
In the realm of video editing, controlling the speed of video clips is a fundamental technique for enhancing storytelling, adding...
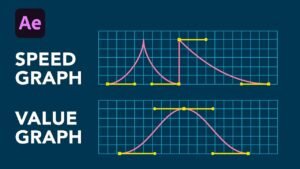
Adobe After Effects stands as a powerful and versatile software for creating captivating motion graphics, stunning visual effects, and immersive...
Adobe After Effects stands as a powerful tool for motion graphics, visual effects, and animation. However, users often encounter challenges...


