
Crafting Memories: A Comprehensive Guide to Creating a Video Montage in iMovie
Introduction: Video montages are a powerful way to compile and showcase a collection of photos, videos, and memories into a...
Introduction: Video montages are a powerful way to compile and showcase a collection of photos, videos, and memories into a...

Introduction: Keyframe animation is a fundamental technique in the world of visual effects and motion graphics, allowing creators to bring...
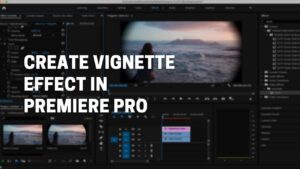
Introduction: The vignette effect is a powerful tool used in photography and videography to draw the viewer's attention to the...

Introduction: Subtitles play a crucial role in enhancing accessibility, comprehension, and engagement for viewers of videos in various languages and...

In the bustling digital realm of social media, Instagram stands as a beacon of connection and creativity, captivating billions of...

In the bustling realm of social media, Instagram stands as a juggernaut, offering a myriad of opportunities for individuals and...

In today's digital age, social media platforms have become pervasive in shaping how we perceive ourselves and others. Among the...


