Mastering Device Driver Management in Windows 7: A Comprehensive Guide
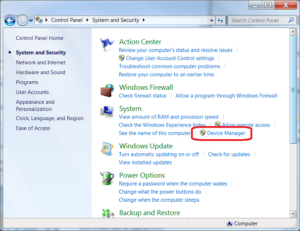
In the intricate ecosystem of computer hardware and software, device drivers play a crucial role in facilitating communication between hardware...
In the intricate ecosystem of computer hardware and software, device drivers play a crucial role in facilitating communication between hardware...
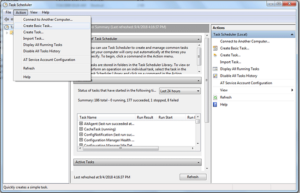
In the fast-paced world of computing, efficiency and productivity are paramount. Windows Task Scheduler, a powerful built-in utility of Windows...

In the realm of cybersecurity, firewalls serve as critical barriers between your computer and potential threats from the outside world....
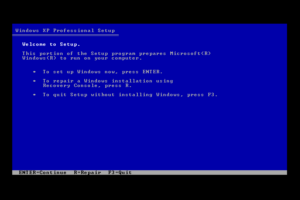
In the realm of computing, encountering system issues or errors is an inevitable part of the user experience. However, with...

In the interconnected world of computing, sharing files and printers across a network is an essential aspect of collaboration and...

In the realm of computer systems management, effective monitoring and control of processes are essential for optimizing system performance, troubleshooting...

In the modern digital era, web browsing has become an indispensable part of our daily lives, allowing us to access...


