
Mastering macOS Engineering Applications with Swift: A Comprehensive Guide
Introduction: Swift has emerged as a powerful and versatile programming language for macOS development, offering developers the tools and capabilities...
Introduction: Swift has emerged as a powerful and versatile programming language for macOS development, offering developers the tools and capabilities...
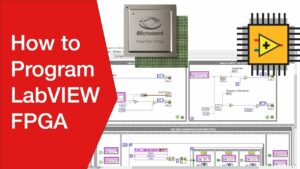
Introduction: LabVIEW FPGA (Field Programmable Gate Array) is a powerful tool for hardware programming, enabling engineers and developers to design...
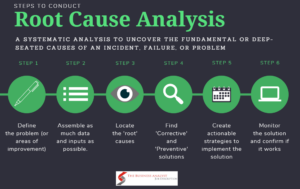
Introduction: Failure analysis is a critical process used across various industries to identify the root causes of failures in products,...

Introduction: In the realm of building safety and protection, designing effective fire protection systems is paramount. AutoSPRINK is a leading...
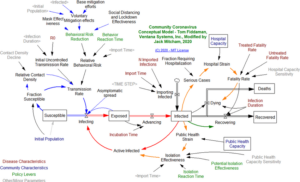
Introduction: System dynamics is a powerful methodology for understanding and modeling complex systems over time. Vensim, developed by Ventana Systems,...
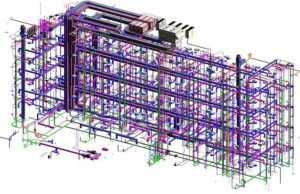
Introduction: Revit MEP is a powerful Building Information Modeling (BIM) software developed by Autodesk, specifically tailored for designing and simulating...
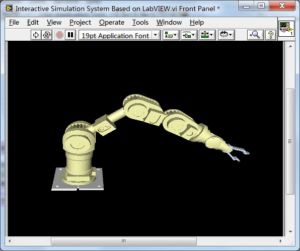
Introduction: Mechatronic systems, integrating mechanical, electrical, and software components, are ubiquitous in modern engineering applications, from robotics and automation to...


