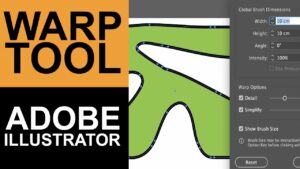
Mastering Transformation: A Comprehensive Guide to Utilizing the Warp Tool in Adobe Illustrator
Introduction: In the realm of digital design, Adobe Illustrator serves as a cornerstone of creativity, offering a plethora of tools...
Introduction: In the realm of digital design, Adobe Illustrator serves as a cornerstone of creativity, offering a plethora of tools...

Introduction: In the realm of digital artistry, Adobe Illustrator stands as a premier platform for bringing the beauty and intricacies...
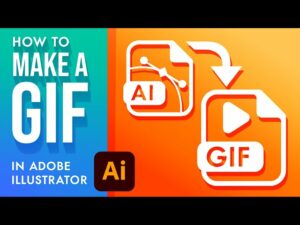
Introduction: GIFs (Graphics Interchange Format) have become an increasingly popular form of visual communication, allowing users to convey messages, express...
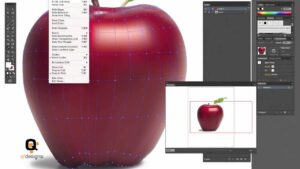
Introduction: The Gradient Mesh tool in Adobe Illustrator is a versatile and powerful feature that allows designers to create realistic...

Introduction: Social media has become an integral part of our daily lives, serving as a platform for communication, connection, and...

Introduction: The Envelope Distort tool in Adobe Illustrator is a powerful feature that allows designers to warp and manipulate objects...
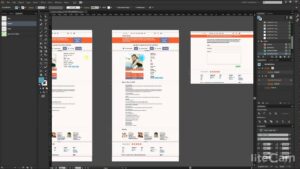
Introduction: Website mockups serve as essential blueprints for designers and developers to visualize the layout, structure, and visual design of...


