Collaboration in Pro Tools: A Comprehensive Guide to Creative Partnerships
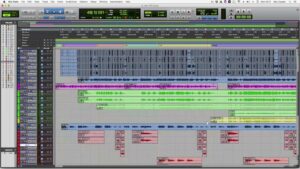
Introduction: Pro Tools, the industry-standard digital audio workstation (DAW), offers a wide array of features and tools to facilitate collaboration...
Introduction: Pro Tools, the industry-standard digital audio workstation (DAW), offers a wide array of features and tools to facilitate collaboration...

A content calendar is a vital tool for YouTube creators, helping to organize, plan, and schedule content in advance to...

Batch filming and editing is a powerful strategy for maximizing productivity, maintaining consistency, and streamlining your workflow as a YouTube...

Introductions and conclusions are essential elements of any YouTube video, setting the stage for what viewers can expect and leaving...
Music and sound effects play a crucial role in enhancing the viewer experience, evoking emotion, and adding depth to your...

Storytelling is a timeless art form that has the power to captivate, inspire, and connect with audiences on a deep...

In the vast and dynamic landscape of online content creation, protecting your intellectual property is paramount for maintaining ownership of...


