Mastering Vector Art: A Comprehensive Guide to Creating Vector Art in Adobe Illustrator
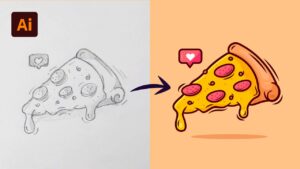
Introduction: Vector art is a versatile and powerful medium that allows artists and designers to create scalable, precise, and visually...
Introduction: Vector art is a versatile and powerful medium that allows artists and designers to create scalable, precise, and visually...
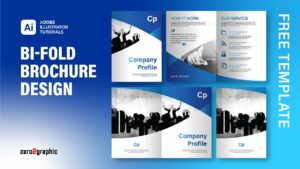
Introduction: Brochures are versatile marketing tools that serve as informative and visually appealing resources for promoting businesses, products, services, and...

Introduction: Flyers are powerful marketing tools that help businesses and organizations promote events, products, services, and causes. Whether you're promoting...
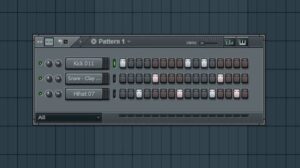
Introduction: FL Studio, a powerhouse digital audio workstation (DAW), is renowned for its intuitive interface, robust features, and unparalleled flexibility...
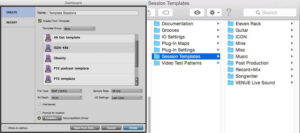
Introduction: Pro Tools, the industry-standard digital audio workstation (DAW), offers powerful tools and features to streamline your music production and...
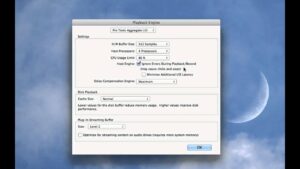
Introduction: Pro Tools, the industry-leading digital audio workstation (DAW), offers unparalleled capabilities for music production, mixing, and mastering. However, to...
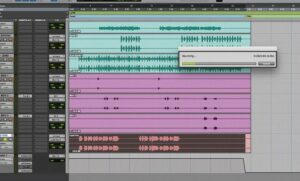
Introduction: Pro Tools, the industry-standard digital audio workstation (DAW), is renowned for its powerful features and capabilities. However, like any...


