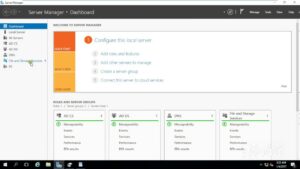
How to configure RAID
Configuring RAID (Redundant Array of Independent Disks) involves setting up multiple physical hard drives to work together as a single...
Configuring RAID (Redundant Array of Independent Disks) involves setting up multiple physical hard drives to work together as a single...
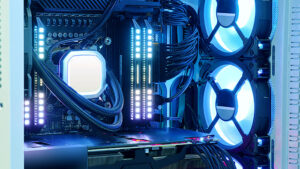
Overclocking a CPU is a method used by enthusiasts and professionals to increase the performance of their computer processor beyond...
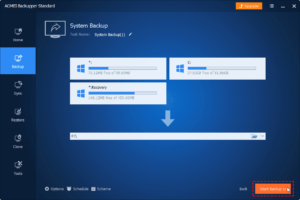
Creating a system backup is crucial for safeguarding your data and ensuring that you can recover quickly in case of...

Squeaky doors can be a significant annoyance in any home, disrupting peace and quiet with every creak. However, fixing a...
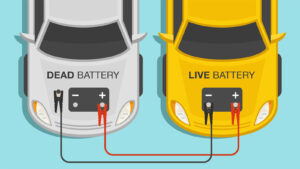
Jump-starting a car is a crucial skill that every driver should know. Whether your car's battery has died due to...

Cleaning a microwave may seem like a daunting task, especially if it hasn't been cleaned regularly. However, with the right...

Ironing a shirt is a skill that combines both artistry and practicality, transforming wrinkled fabric into crisp, professional attire. Whether...


