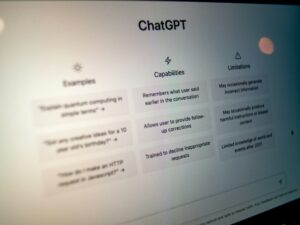
Developing code with ChatGPT: and my favorite approach to debug what it generates
Developing code with ChatGPT: and my favorite approach to debug what it generates One of the most interesting discoveries of...
Developing code with ChatGPT: and my favorite approach to debug what it generates One of the most interesting discoveries of...

The Apple AirPods Expert 2 hearing wellbeing highlights are at last live. This is the way to getting to the...
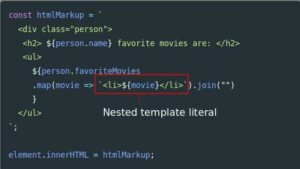
JavaScript is a versatile language that has evolved significantly over the years. One of the notable features introduced in ECMAScript...
JavaScript is a powerful, versatile programming language widely used in web development. One of its fundamental features is its ability...

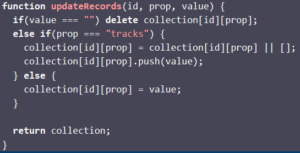
Understanding Objects in JavaScript JavaScript, a dynamic language, relies heavily on objects. They are essentially collections of key-value pairs, where...
Unit testing is a critical part of the software development lifecycle, ensuring that individual components of a program work as...
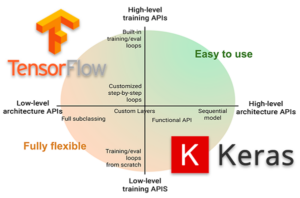
Keras is a high-level neural networks API, written in Python and capable of running on top of other deep learning...


