When it comes to work which is superior: cloud PCs or traditional desktops?
When it comes to work which is superior: cloud PCs or traditional desktops? The methods we employ to do our...
When it comes to work which is superior: cloud PCs or traditional desktops? The methods we employ to do our...

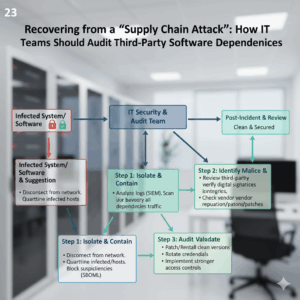
Introduction to the Most Common Security Vulnerabilities in Computers in 2025 and How to Resolve Them The environment of cybersecurity...
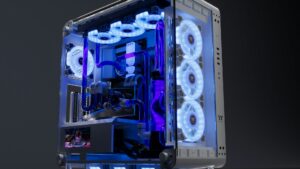
An Overview of the Ways in Which Liquid Cooling Systems Are Revolutionizing Gaming Rigs Since the beginning of the personal...

The Ways Edge Computing Is Changing the Way Computer Infrastructure Is Defined For many years, the primary support system of...
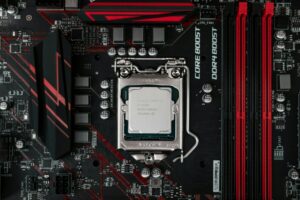
How ARM Processors Are Transforming the Personal Computer Market For many decades, the personal computer (PC) industry has been controlled...

Freelancing vs. Remote Jobs: Which Is Right for You? The contemporary labor force is undergoing fast transformation, and an increasing...

A Guide to Writing Successful Proposals That Will Bring in Customers The quality of your proposal is often the determining...