
The Ways to Use Public Wi-Fi Without Putting Yourself in Danger
The Ways to Use Public Wi-Fi Without Putting Yourself in Danger The use of public Wi-Fi is easy, whether you...
The Ways to Use Public Wi-Fi Without Putting Yourself in Danger The use of public Wi-Fi is easy, whether you...

A Guide to Protecting Your Wireless Network from Unauthorized Access The Wi-Fi network in your house or workplace serves as...
How to Select the Appropriate Virtual Private Network (VPN) to Ensure Your Privacy and Speed A Virtual Private Network, sometimes...
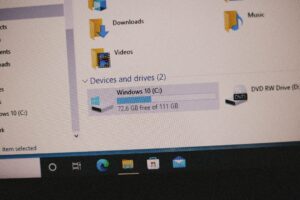
Managing Large Files Across Multiple Devices: Some Tips and Resources The process of juggling huge files is often required while...

How to Work with More Than One Client Without Getting Tired One of the hardest things for freelancers and independent...

How to Create a Freelance Portfolio from the Ground Up Starting out as a freelancer can be challenging, especially if...

Advice on How to Keep Your Smart Home Devices in Working Order Convenience, automation, and increased safety are improved in...


