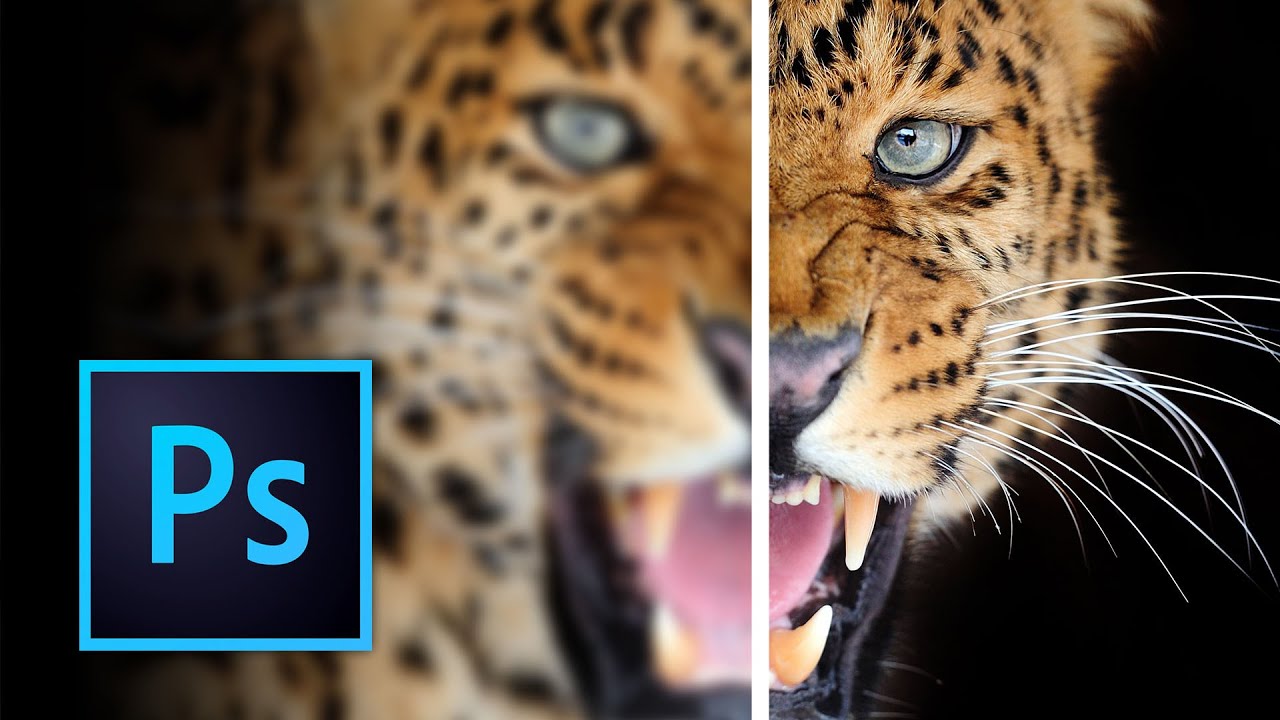
Mastering the Art of Image Enhancement: A Comprehensive Guide to Sharpening Images in Photoshop

Introduction:
In the world of digital photography and graphic design, the ability to sharpen images effectively can make a significant difference in the overall quality and impact of your work. Adobe Photoshop, with its array of powerful tools and features, offers photographers and designers a variety of methods for sharpening images to perfection. In this comprehensive guide, we will explore the various techniques and best practices for sharpening images in Photoshop, from basic sharpening to advanced sharpening methods, ensuring that your photos and designs stand out with clarity and precision.
Understanding Image Sharpening:
Before delving into the techniques for sharpening images in Photoshop, it’s essential to understand what image sharpening is and why it’s important. Image sharpening is the process of enhancing the clarity and definition of an image by increasing the contrast along the edges of objects and details. This can help improve the overall sharpness and crispness of the image, making it appear more detailed and visually appealing.
Image sharpening is particularly useful for correcting softness or blurriness that may result from factors such as camera shake, lens imperfections, or image compression. By selectively enhancing the edges and fine details of an image, sharpening can help bring out important elements and improve overall image quality.
Basic Sharpening Techniques:
- Unsharp Mask:
- The Unsharp Mask filter is one of the most commonly used sharpening tools in Photoshop. Despite its name, it works by increasing the contrast along the edges of objects, thereby enhancing the appearance of sharpness.
- To apply the Unsharp Mask filter, go to Filter > Sharpen > Unsharp Mask. Adjust the Amount, Radius, and Threshold sliders to control the intensity and appearance of the sharpening effect.
- Use a light touch when adjusting the settings to avoid introducing artifacts or halos into the image.
- Smart Sharpen:
- The Smart Sharpen filter is another powerful sharpening tool in Photoshop that offers more advanced controls and options compared to the Unsharp Mask filter.
- To apply the Smart Sharpen filter, go to Filter > Sharpen > Smart Sharpen. Adjust the Amount, Radius, and Reduce Noise sliders to fine-tune the sharpening effect and minimize noise.
- Experiment with different settings to achieve the desired level of sharpness while maintaining a natural-looking result.
Advanced Sharpening Techniques:
- High Pass Sharpening:
- High Pass sharpening is a popular advanced sharpening technique that involves using the High Pass filter to isolate the edges and details of an image before applying sharpening.
- To perform High Pass sharpening, duplicate the background layer, then go to Filter > Other > High Pass. Adjust the Radius slider until you see the edges and details of the image clearly.
- Change the blending mode of the High Pass layer to Overlay or Soft Light to blend the sharpening effect with the original image. Adjust the layer opacity if necessary to control the intensity of the sharpening.
- Frequency Separation:
- Frequency Separation is a sophisticated sharpening technique that separates the high-frequency details (such as texture and fine lines) from the low-frequency tones (such as color and luminance) of an image.
- To perform Frequency Separation sharpening, create two duplicate layers of the image—one for high-frequency details and one for low-frequency tones. Apply Gaussian Blur to the low-frequency layer to smooth out the tones while preserving the details in the high-frequency layer.
- Use tools such as the Healing Brush or Clone Stamp on the low-frequency layer to address any imperfections or blemishes without affecting the details. Then, apply sharpening to the high-frequency layer to enhance the fine details and textures.
Best Practices for Sharpening Images:
- Start with a high-quality image: Sharpening can enhance the details of an image, but it cannot compensate for poor image quality. Begin with a well-exposed and properly focused image to achieve the best results.
- Use non-destructive editing techniques: Whenever possible, apply sharpening adjustments as non-destructively as possible by using adjustment layers or Smart Filters. This allows you to fine-tune the sharpening settings or revert to the original image if needed.
- Avoid over-sharpening: While sharpening can enhance the clarity and definition of an image, excessive sharpening can lead to artifacts, halos, and an unnatural appearance. Use a subtle touch when sharpening to achieve a natural-looking result.
- Consider the intended output: The amount of sharpening required may vary depending on the intended output of the image. Images intended for print may require more aggressive sharpening to compensate for the inherent softness of print media, while images destined for web or screen display may require less sharpening to avoid exaggerating digital artifacts.
Conclusion:
Mastering the art of sharpening images in Photoshop is an essential skill for photographers and designers looking to enhance the clarity, detail, and impact of their work. By understanding the various techniques and best practices for sharpening images, you can achieve professional-quality results that captivate viewers and leave a lasting impression. Whether you’re sharpening portraits, landscapes, or digital illustrations, Photoshop provides the tools and flexibility you need to sharpen images to perfection and elevate your creative vision.


