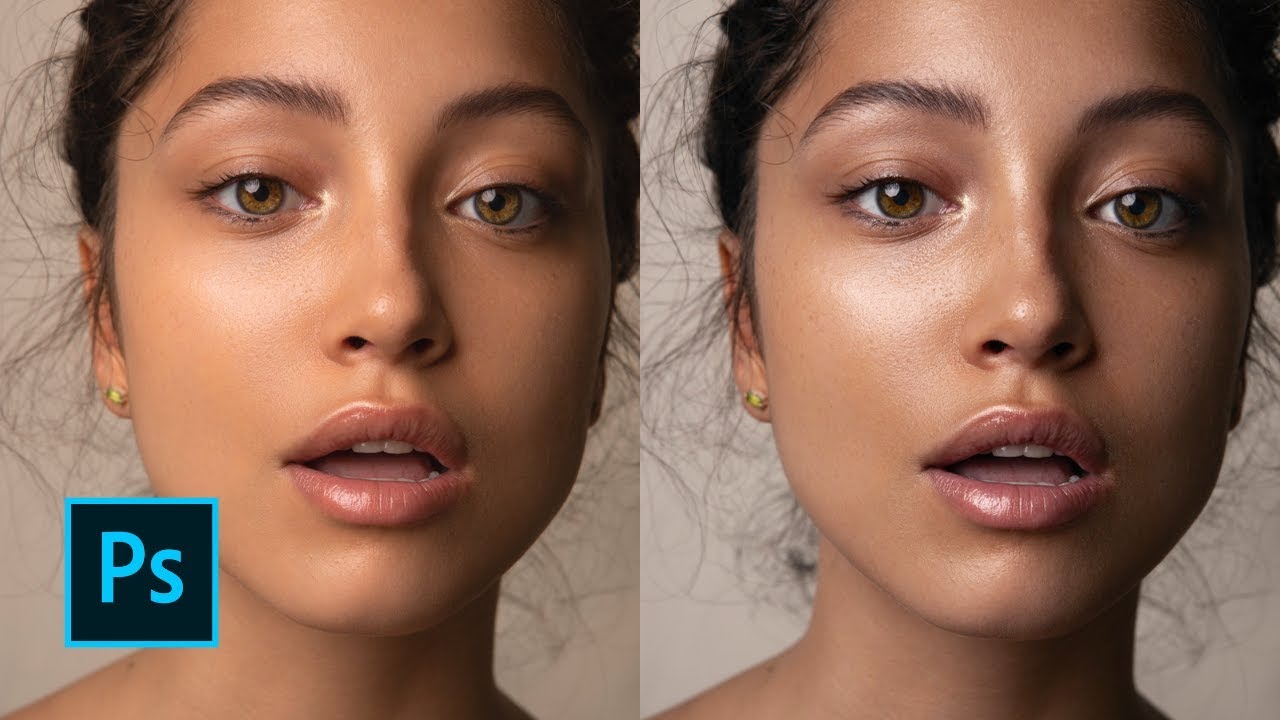
Mastering Tonal Refinement: A Comprehensive Guide on How to Easily Retouch Tones in Photoshop

Introduction:
Retouching tones in Photoshop is a fundamental skill for photographers and digital artists aiming to enhance the overall look and feel of their images. Tonal refinement involves adjusting the brightness, contrast, and color balance to create a harmonious and visually appealing composition. In this extensive guide, we will delve into the intricacies of tonal retouching in Photoshop, providing step-by-step instructions and valuable insights to help you easily elevate your images to a new level of visual excellence.
Understanding Tonal Elements:
Before delving into the process of retouching tones in Photoshop, it’s crucial to grasp the key tonal elements that contribute to the overall look of an image:
- Highlights: The brightest areas of an image, typically representing direct light sources or highly reflective surfaces.
- Shadows: The darkest areas of an image, often found in areas not directly illuminated.
- Midtones: The tonal range between highlights and shadows, encompassing the majority of the image’s details.
- Contrast: The difference between the brightest and darkest areas in an image, influencing the overall visual impact.
- Color Balance: The distribution and harmony of colors in an image, affecting its overall mood and atmosphere.
Now, let’s explore how to easily retouch each of these tonal elements in Photoshop.
Step 1: Basic Exposure Adjustments
Start by opening your image in Photoshop and navigating to the “Adjustments” panel. Here, you can access tools such as Levels, Curves, and Exposure to make basic exposure adjustments. Use the Levels adjustment to fine-tune the black and white points, ensuring a full tonal range without losing details in highlights or shadows.
Step 2: Curves Adjustment for Precision
For more nuanced control over tones, employ the Curves adjustment layer. This versatile tool allows you to create custom S-curves to enhance contrast and adjust specific tonal ranges. Click on the Curves adjustment layer icon and experiment with dragging points on the curve to refine highlights, shadows, and midtones independently.
Step 3: Dodge and Burn Techniques
Dodge and Burn tools are essential for localized tonal adjustments. The Dodge tool lightens specific areas, while the Burn tool darkens them. Create a new layer set to Overlay blending mode, and use a soft brush to selectively lighten (dodge) or darken (burn) areas. This technique is particularly effective for enhancing details in highlights and shadows.
Step 4: Highlight and Shadow Adjustments
To refine highlights and shadows further, utilize dedicated adjustment layers. The “Highlights/ Shadows” adjustment allows for specific adjustments to these tonal areas without affecting the overall image. Experiment with sliders to find the right balance, enhancing details in highlights and retrieving information from shadowed regions.
Step 5: Color Balance Refinement
Tonal retouching is intimately linked with color balance. Use the “Color Balance” adjustment layer to fine-tune the distribution of colors in highlights, midtones, and shadows. Adjust the sliders to achieve a cohesive and visually pleasing color palette that complements your tonal adjustments.
Step 6: Gradient Maps for Artistic Toning
For a creative approach to tonal retouching, consider using Gradient Maps. Create a new Gradient Map adjustment layer and experiment with different gradient presets. This technique allows for artistic toning, emphasizing specific colors in different tonal ranges and adding a unique visual flair to your image.
Step 7: High Pass Sharpening for Detail Enhancement
Enhance the overall clarity and details in your image by employing the High Pass sharpening technique. Duplicate your image layer, apply a High Pass filter, and set the blending mode to Overlay. Adjust the opacity to control the intensity of sharpening, focusing on bringing out fine details without introducing artifacts.
Step 8: Selective Color Correction
For targeted color correction within specific tonal ranges, use the “Selective Color” adjustment layer. This powerful tool enables adjustments to individual color channels, allowing you to refine the tones of specific colors without affecting the entire image.
Step 9: Fine-Tuning with Camera Raw Filter
To add a finishing touch to your tonal retouching, consider applying the Camera Raw filter. This filter provides a range of adjustment options, including exposure, contrast, vibrance, and clarity. Use it to make subtle refinements and ensure a cohesive tonal balance across the entire image.
Conclusion:
Mastering the art of tonal retouching in Photoshop is a transformative journey that empowers photographers and digital artists with the tools to elevate their images. By understanding the nuances of highlights, shadows, midtones, and contrast, and employing advanced techniques such as Curves adjustments, Dodge and Burn tools, and Gradient Maps, you can easily achieve professional-level tonal refinement.
Remember that each image is unique, and the key to successful tonal retouching lies in experimentation, observation, and a keen eye for detail. Whether you’re enhancing a portrait, a landscape, or a creative composition, the principles of tonal retouching remain consistent, providing a versatile toolkit for visual storytelling and artistic expression. As you integrate these techniques into your Photoshop workflow, you’ll find yourself unlocking new levels of creativity and achieving breathtaking results in your photographic and digital art endeavors.


