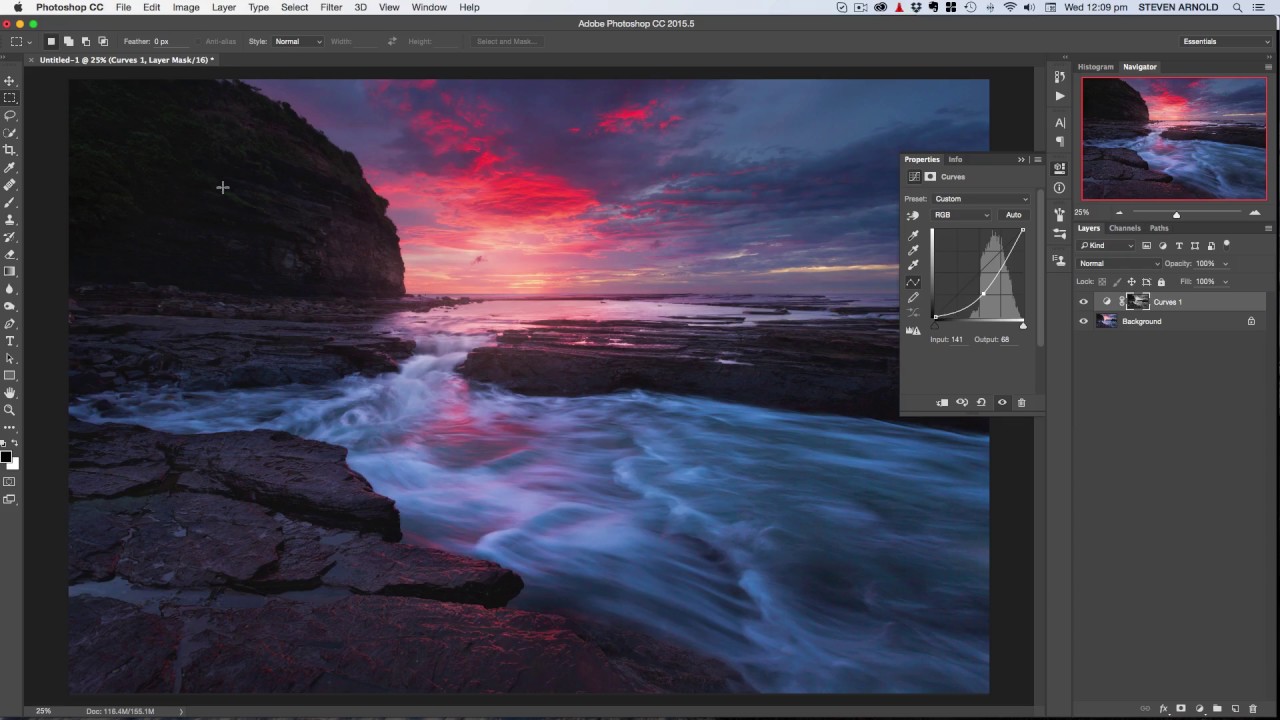
Mastering Precision: A Comprehensive Guide on How to Use Luminosity Masking in Photoshop

Introduction:
Luminosity masking is a powerful technique in Photoshop that allows photographers and digital artists to precisely control the tones and luminance levels in an image. This advanced method provides a level of control that goes beyond basic adjustments, enabling users to selectively edit specific tonal ranges and create images with extraordinary depth and detail. In this extensive guide, we will explore the intricacies of luminosity masking, breaking down the process step by step to empower users with the knowledge to harness this technique effectively in their creative endeavors.
Understanding Luminosity Masking:
Luminosity masking revolves around the concept of using the luminance values in an image to create intricate selections. Unlike traditional selections based on color or tonal range, luminosity masks isolate specific brightness levels, allowing for targeted adjustments. This technique is particularly valuable for enhancing details, adjusting contrast, and fine-tuning the overall tonal balance in a photograph.
Step 1: Creating Luminosity Masks
To embark on the journey of luminosity masking, users must first create luminosity masks. Photoshop provides various methods to generate these masks, with one of the most popular being the “Channels” panel. Navigate to the Channels panel and Ctrl-click (Cmd-click on Mac) on the RGB channel. This creates a selection based on luminosity.
For more refined masks, users can explore third-party tools or manual techniques. Advanced users often employ calculations, applying intricate mathematical operations to generate masks tailored to specific tonal ranges.
Step 2: Loading and Applying Luminosity Masks
Once luminosity masks are created, they can be loaded as selections. Navigate back to the Layers panel and click on the “Add Layer Mask” button while holding down the Alt key (Option key on Mac). This action applies the loaded luminosity mask as a layer mask, revealing or concealing specific parts of the image based on luminance values.
Experimentation is key in this step. Users can create multiple masks for different tonal ranges, loading and combining them to achieve the desired effect. This level of control is particularly beneficial for fine-tuning adjustments in shadows, highlights, and midtones separately.
Step 3: Refining and Customizing Adjustments
Luminosity masking allows for a refined and nuanced approach to adjustments. With the mask applied, users can access adjustment layers such as Levels, Curves, or Hue/Saturation to target specific tonal ranges. For instance, adjusting the contrast in the midtones without affecting shadows or highlights becomes a precise and controlled process.
Refinement is achieved through a combination of painting on the mask with a soft brush, adjusting opacity levels, and experimenting with different blend modes. This level of customization ensures that edits seamlessly integrate into the image, maintaining a natural and professional appearance.
Step 4: Expanding Creative Possibilities
Luminosity masking isn’t limited to basic tonal adjustments. Photographers and digital artists can leverage this technique to explore creative possibilities. For instance, creating a luminosity mask based on the highlights and applying a subtle glow effect can enhance the ethereal quality of an image. Alternatively, isolating the shadows for selective color grading opens up avenues for artistic expression.
In landscape photography, luminosity masking is particularly potent for managing exposure differences in challenging lighting conditions. Users can blend multiple exposures seamlessly, preserving details in both highlights and shadows to create a balanced and visually compelling image.
Step 5: Mastering Advanced Techniques
As users become more adept at luminosity masking, they can explore advanced techniques to elevate their editing capabilities. These may include luminosity painting, where users manually paint on the mask to refine local adjustments, or utilizing third-party plugins that offer additional functionalities and automation.
Additionally, incorporating luminosity masks into intricate composite work allows for seamless integration of elements, maintaining consistent lighting and tonal balance. The versatility of this technique makes it an invaluable tool for both photographers and digital artists seeking to push the boundaries of their creative endeavors.
Conclusion:
Luminosity masking is a transformative technique that empowers photographers and digital artists with unparalleled control over tonal adjustments in Photoshop. As users delve into the intricacies of creating, loading, and customizing luminosity masks, they unlock a realm of creative possibilities that extend beyond traditional editing methods. The precision and flexibility offered by luminosity masking make it a valuable addition to the toolkit of anyone aiming to achieve professional-grade results in their photographic and digital art endeavors. With practice, experimentation, and a keen eye for detail, mastering luminosity masking opens doors to a world of artistic expression where every tonal nuance can be harnessed and enhanced to create visually stunning and impactful images.


