A Comprehensive Guide on How to Capture Screenshots on Laptop or PC with Windows

Introduction:
In the digital era, where visual communication is paramount, knowing how to take screenshots on a laptop or PC with Windows is a fundamental skill. Screenshots serve a variety of purposes, from capturing important information for reference to sharing moments from your screen with others. This comprehensive guide will walk you through various methods to capture screenshots on Windows devices, exploring built-in tools, keyboard shortcuts, and additional third-party applications.
I. Understanding the Importance of Screenshots:
Screenshots, also known as screen captures or screen grabs, are static images of your computer or laptop screen. They provide a quick and efficient way to capture the current display, making it possible to share visual information, document on-screen content, troubleshoot issues, or create tutorials. Whether you’re a student, professional, or casual user, the ability to take screenshots is a valuable skill that enhances your digital communication toolbox.
II. Method 1: Snipping Tool (Windows 7, 8.1, and 10):
The Snipping Tool is a built-in utility in Windows that allows users to capture screenshots with various options for customization. Follow these steps:
- Open the Snipping Tool:
- Press the “Start” button.
- Type “Snipping Tool” in the search bar and select the app from the results.
- Capture a Snip:
- Once the Snipping Tool is open, click on “New.”
- Select the area of the screen you want to capture.
- Customize the Snip:
- The Snipping Tool provides options for free-form, rectangular, window, or full-screen snips.
- After capturing, you can annotate the snip using the available tools.
- Save the Snip:
- Click on “File” and choose “Save As” to save the captured image.
III. Method 2: Snip & Sketch (Windows 10):
Snip & Sketch is an evolution of the Snipping Tool, providing additional features and an enhanced user interface. Follow these steps:
- Open Snip & Sketch:
- Press the “Windows” key and “Shift” + “S” to open the Snip & Sketch toolbar.
- Alternatively, you can search for “Snip & Sketch” in the Start menu.
- Capture a Snip:
- Use the toolbar to select the type of snip you want (rectangular, freeform, full screen).
- After capturing, the snip is automatically copied to the clipboard.
- Annotate and Save:
- Annotate the snip using the available tools.
- Click on “File” to save or share the snip directly.
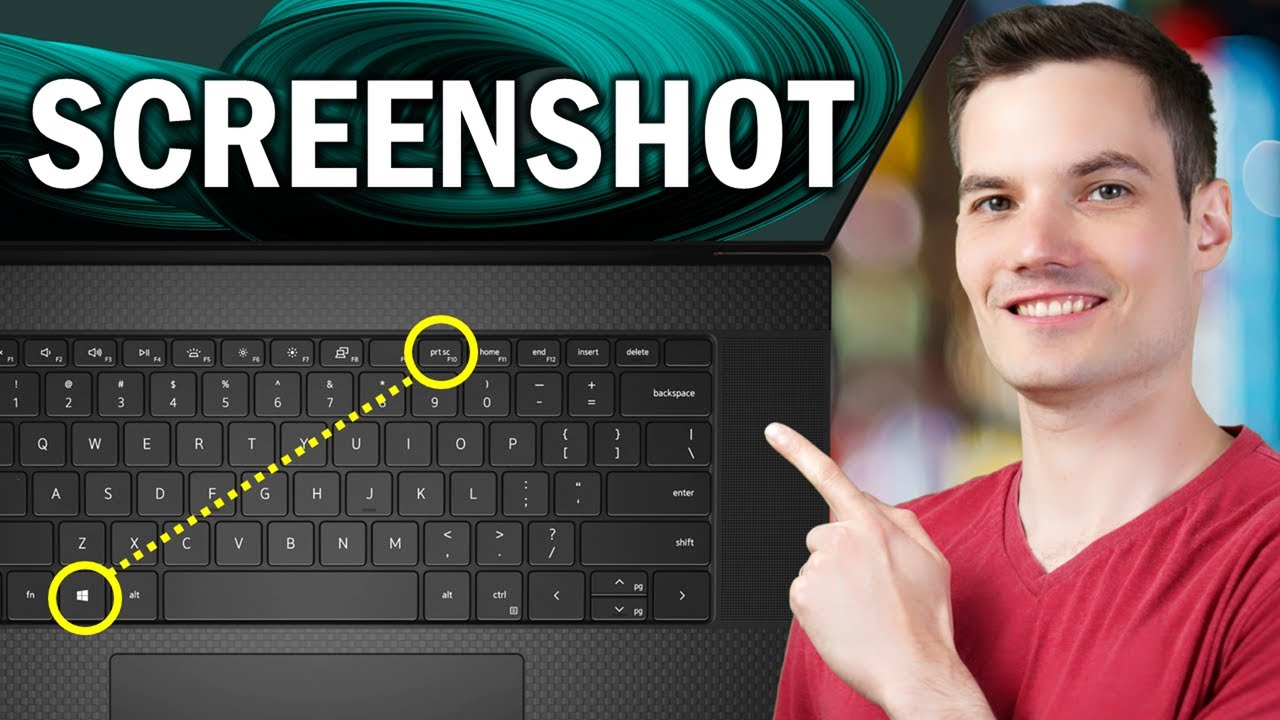
IV. Method 3: Print Screen (PrtScn) Key:
The Print Screen key is a quick and simple method to capture the entire screen or an active window. Follow these steps:
- Capture the Entire Screen:
- Press the “PrtScn” key to capture the entire screen.
- The screenshot is copied to the clipboard.
- Capture the Active Window:
- Press “Alt” + “PrtScn” to capture only the active window.
- The screenshot is copied to the clipboard.
- Use Snipping Tool for Further Editing:
- Open the Snipping Tool or Snip & Sketch to paste and edit the screenshot.
V. Method 4: Windows + Shift + S (Windows 10):
This keyboard shortcut is a quick way to capture a specific area of the screen without opening additional applications. Follow these steps:
- Press Windows + Shift + S:
- Press the “Windows” key, “Shift” key, and “S” key simultaneously.
- The screen will dim, and a toolbar will appear.
- Select the Area:
- Click and drag to select the area you want to capture.
- The screenshot is copied to the clipboard.
- Paste and Edit:
- Open an application like Paint or a document and paste the screenshot to edit or save.
VI. Additional Tips and Tools:
- Windows Snip & Sketch Shortcuts:
- In Snip & Sketch, press “Ctrl” + “N” to open a new snip.
- Press “Ctrl” + “S” to save a snip.
- Third-Party Applications:
- If you require advanced screenshot features, consider third-party applications like Snagit, Greenshot, or Lightshot.
- OneDrive Integration:
- Screenshots taken with the Print Screen key or Windows + Shift + S are automatically saved to the “Screenshots” folder in your “Pictures” library if OneDrive is enabled.
- Editing and Markup:
- Explore built-in applications like Paint or third-party tools for additional editing and markup options.
VII. Conclusion:
Capturing screenshots on a laptop or PC with Windows is a skill that enhances your ability to communicate visually and efficiently. Whether you opt for the built-in Snipping Tool, Snip & Sketch, keyboard shortcuts, or third-party applications, the methods outlined in this comprehensive guide cater to different preferences and requirements. As you incorporate screenshot capabilities into your digital toolkit, remember that practice and familiarity with the available tools will refine your ability to capture, edit, and share visual information seamlessly. Embrace the power of screenshots as a versatile and invaluable tool for enhancing your digital communication experience on Windows devices.


