Exploring the Art of Welding in SolidWorks: A Comprehensive Guide to Adding Weld Beads to Weldments
Welding is a fundamental process in fabrication, allowing engineers and designers to join metal components to create sturdy and durable structures. SolidWorks, a leading 3D CAD software, offers powerful tools for creating and simulating welds in weldments. Whether you’re designing structural frames, machinery, or architectural structures, understanding how to add weld beads to a weldment in SolidWorks can greatly enhance your design process. In this extensive guide, we’ll delve into the step-by-step process of adding weld beads to weldments in SolidWorks, covering everything from selecting weld bead types to customizing parameters and simulating welds.
1. Understanding Weld Beads in SolidWorks:
- Weld beads in SolidWorks simulate the physical welds that join metal components in a weldment assembly.
- Weld beads can represent various types of welds, including fillet welds, groove welds, spot welds, and seam welds.
- SolidWorks provides dedicated tools for creating, editing, and simulating weld beads, allowing you to accurately represent welding processes in your designs.
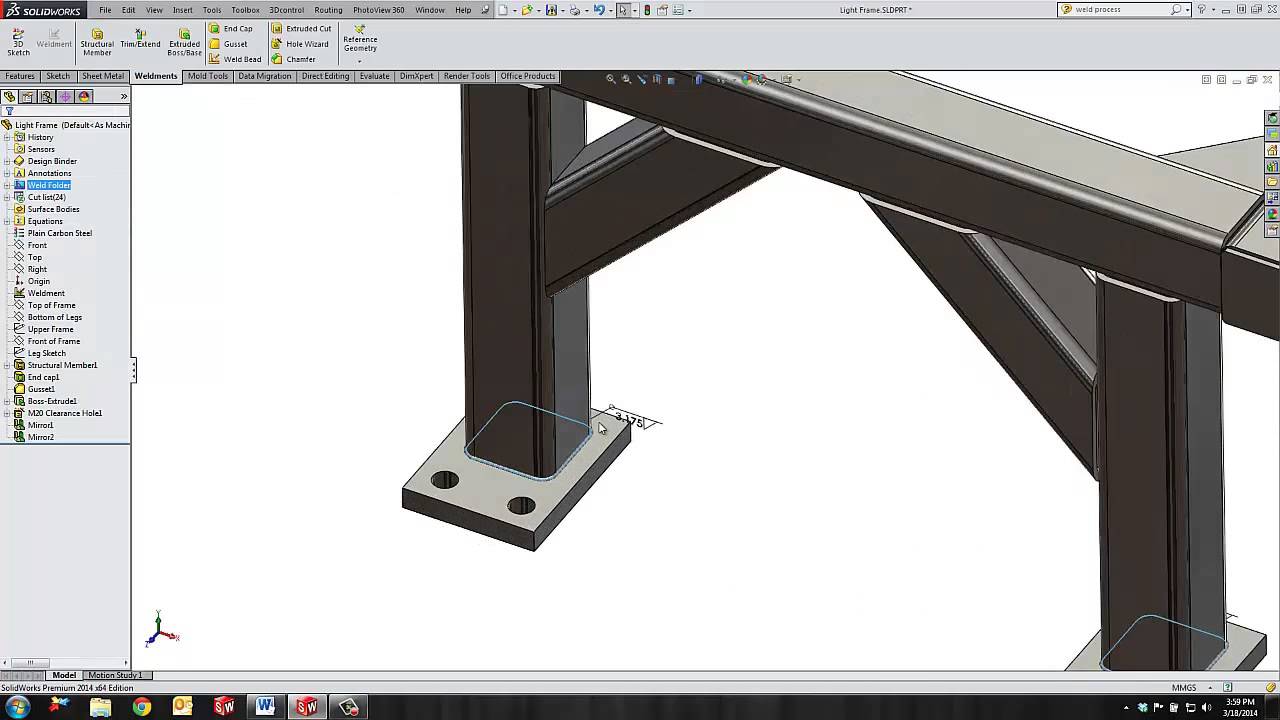
2. Accessing the Weld Bead Tool:
- To add weld beads to a weldment in SolidWorks, first, open a new or existing weldment assembly document.
- Navigate to the Weldments tab in the Command Manager, where you’ll find the Weld Bead tool.
- Click on the Weld Bead tool to access the weld bead creation menu and begin adding weld beads to your weldment assembly.
3. Selecting Weld Bead Types:
- SolidWorks offers a variety of weld bead types to choose from, each representing a specific welding process and geometry.
- Click on the Weld Bead Type dropdown menu to browse through the available weld bead types.
- Select the desired weld bead type based on the welding process and joint configuration in your weldment assembly.
4. Configuring Weld Bead Parameters:
- Once you’ve selected the weld bead type, SolidWorks prompts you to configure parameters for the weld bead.
- Parameters may include weld size, length, spacing, penetration depth, and orientation, depending on the selected weld bead type.
- Adjust the parameters to match the welding specifications and requirements of your design.
5. Applying Weld Beads to Joints:
- With the weld bead parameters configured, SolidWorks allows you to apply weld beads to specific joints in the weldment assembly.
- Use the Select Bodies or Faces tool to choose the components or faces where the weld beads will be applied.
- SolidWorks automatically generates weld beads along the selected joints, based on the configured parameters and weld bead type.
6. Editing and Customizing Weld Beads:
- SolidWorks provides robust editing tools for modifying and customizing weld beads to suit your design requirements.
- You can adjust the size, length, spacing, and orientation of weld beads using the Weld Bead PropertyManager.
- Additionally, SolidWorks offers options for adding reinforcement, tapering, and blending to weld beads for improved strength and aesthetics.
7. Simulating Welds and Analyzing Results:
- After adding weld beads to the weldment assembly, it’s essential to simulate welds and analyze their impact on the structural integrity of the design.
- SolidWorks offers simulation tools, such as SolidWorks Simulation, for performing stress analysis and fatigue testing on weldments.
- You can simulate the effects of welding processes, including heat input, distortion, and residual stresses, to ensure the reliability and performance of the design.
8. Documenting Welds and Fabrication:
- Once the weldment design is finalized, generate detailed drawings and documentation for fabrication and assembly.
- SolidWorks provides tools for creating dimensioned drawings, welding symbols, and weldment schedules to communicate welding specifications to fabricators.
- Include annotations, notes, and callouts to provide clear instructions for welders during the fabrication process.
Conclusion:
- Adding weld beads to weldments in SolidWorks is a vital step in accurately representing welding processes and ensuring the structural integrity of designs.
- By following the steps outlined in this guide and leveraging SolidWorks’ powerful tools and features, you can create precise and accurate weld beads that meet the requirements of your project.
- Whether you’re designing structural frames, machinery, or architectural structures, SolidWorks provides the capabilities you need to streamline your design process and achieve exceptional results in weldment fabrication and assembly.