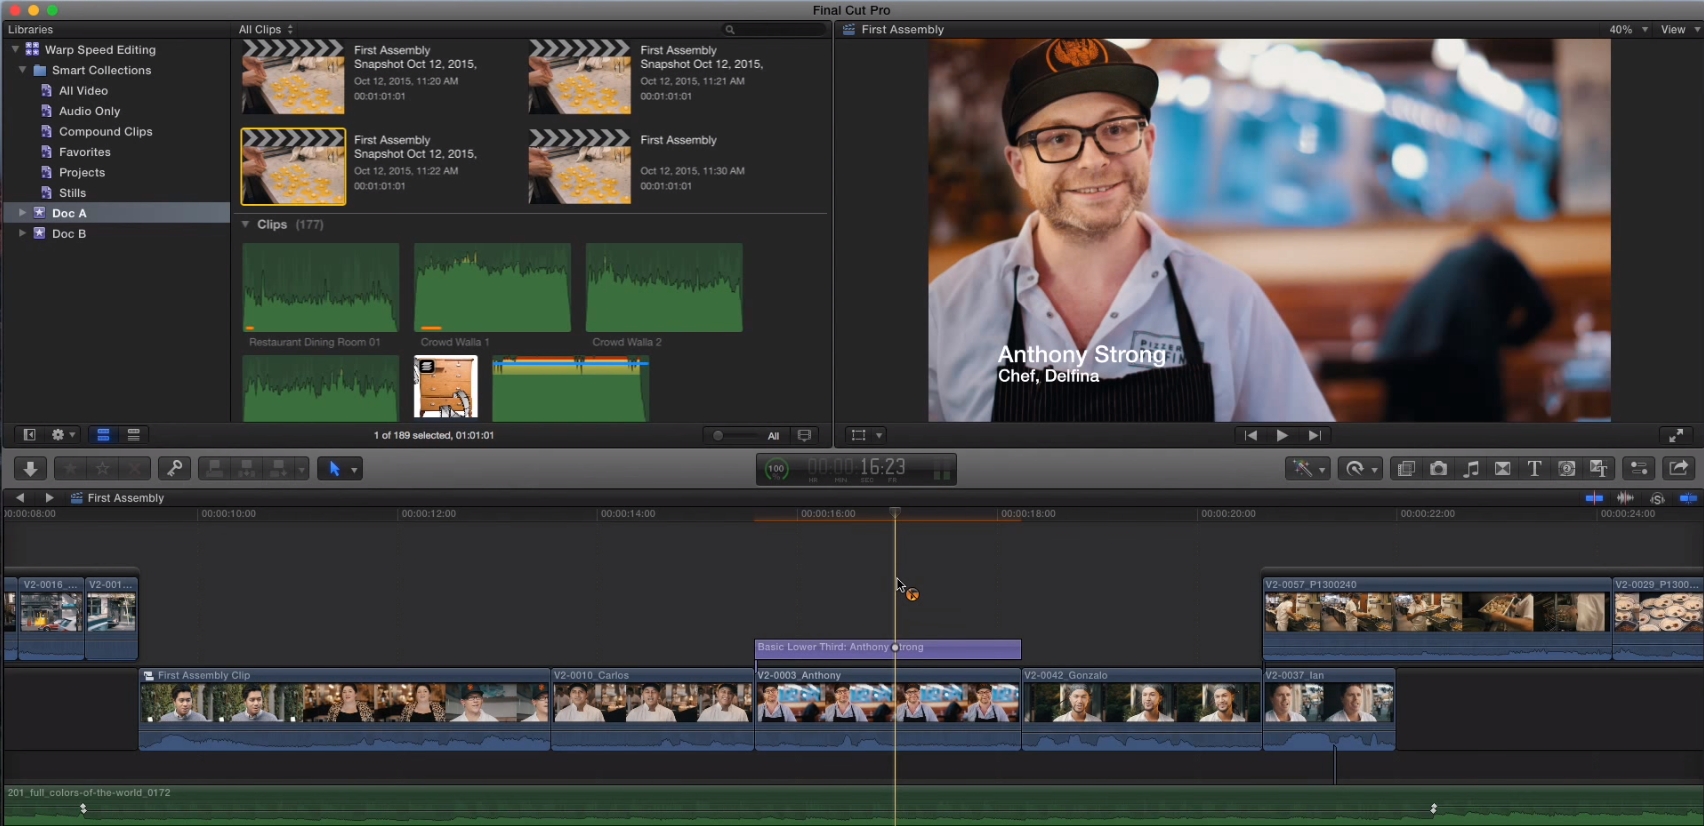
Mastering Editing Efficiency: A Comprehensive Guide on How to Use the Ripple Delete Feature in Final Cut Pro

Introduction: Final Cut Pro is a powerful video editing software used by professionals and enthusiasts alike to create stunning videos. One of the many features that make Final Cut Pro a favorite among editors is the ripple delete feature. Ripple delete allows you to remove a selected clip from your timeline and automatically close the gap left behind, ensuring seamless continuity in your edit. In this comprehensive guide, we’ll delve into the intricacies of using the ripple delete feature in Final Cut Pro, exploring its various applications, tips, and best practices to streamline your editing workflow and achieve professional-quality results.
Understanding Ripple Delete: Ripple delete is a time-saving editing technique that allows you to remove a clip or segment from your timeline and automatically adjust the surrounding clips to fill the gap. Unlike traditional delete functions, which leave gaps in the timeline, ripple delete ensures that the edit point moves forward or backward to close the space, maintaining the flow and continuity of your edit. This feature is especially useful for tightening up edits, removing unwanted footage, and reorganizing sequences without disrupting the pacing of your project.
Step 1: Selecting Clips for Ripple Delete To use the ripple delete feature in Final Cut Pro, start by selecting the clip or clips you want to remove from your timeline. You can select a single clip by clicking on it, or select multiple clips by holding down the Shift key while clicking on each clip. Alternatively, you can drag the playhead over the portion of the timeline you want to delete to select multiple clips at once.
Step 2: Performing Ripple Delete Once you’ve selected the clips you want to remove, navigate to the Edit menu at the top of the Final Cut Pro interface. From the dropdown menu, select Ripple Delete (or use the keyboard shortcut Option + Delete). This action will remove the selected clips from the timeline and automatically close the gap, shifting the adjacent clips to fill the space left behind.
Step 3: Fine-Tuning Ripple Delete After performing the ripple delete, review the edit in your timeline to ensure that the surrounding clips have been adjusted correctly. If necessary, you can further fine-tune the edit points by manually adjusting the position of the clips in the timeline. Click and drag the clips to reposition them as needed, or use the Precision Editor to make more precise adjustments to the edit points.
Step 4: Applying Ripple Delete to Connected Clips and Secondary Storylines In addition to primary storyline clips, Final Cut Pro also allows you to use ripple delete with connected clips and secondary storylines. To perform ripple delete on connected clips or secondary storylines, select the clips you want to remove, then navigate to the Edit menu and choose Ripple Delete (or use the keyboard shortcut Option + Delete). Final Cut Pro will automatically adjust the surrounding clips and close the gap, maintaining the integrity of your edit.
Step 5: Exploring Additional Ripple Delete Options Final Cut Pro offers several additional options for ripple delete, allowing you to customize the behavior of the feature to suit your editing preferences. For example, you can choose whether to ripple delete only the selected clips, or to ripple delete all clips on the primary storyline. You can also choose whether to include connected clips and secondary storylines in the ripple delete operation, or to leave them unaffected.
Step 6: Tips and Best Practices for Using Ripple Delete
- Before performing ripple delete, always review your edit to ensure that you’re removing the correct clips and that the surrounding clips will adjust as expected.
- Use ripple delete to quickly tighten up edits, remove unwanted footage, and reorganize sequences without disrupting the flow of your project.
- Experiment with different ripple delete options and keyboard shortcuts to find the most efficient workflow for your editing style.
- Remember that ripple delete is non-destructive, meaning you can always undo the operation if you need to revert to a previous state of your timeline.
Conclusion: Ripple delete is a valuable editing tool in Final Cut Pro that allows you to remove clips from your timeline quickly and efficiently while maintaining the continuity of your edit. By following the step-by-step process outlined in this guide and exploring the various options and shortcuts available for ripple delete, you can streamline your editing workflow, save time, and achieve professional-quality results in your video projects. Whether you’re editing a short film, a documentary, or a promotional video, ripple delete empowers you to make precise edits with ease, ensuring that your final product is polished, cohesive, and visually engaging.


