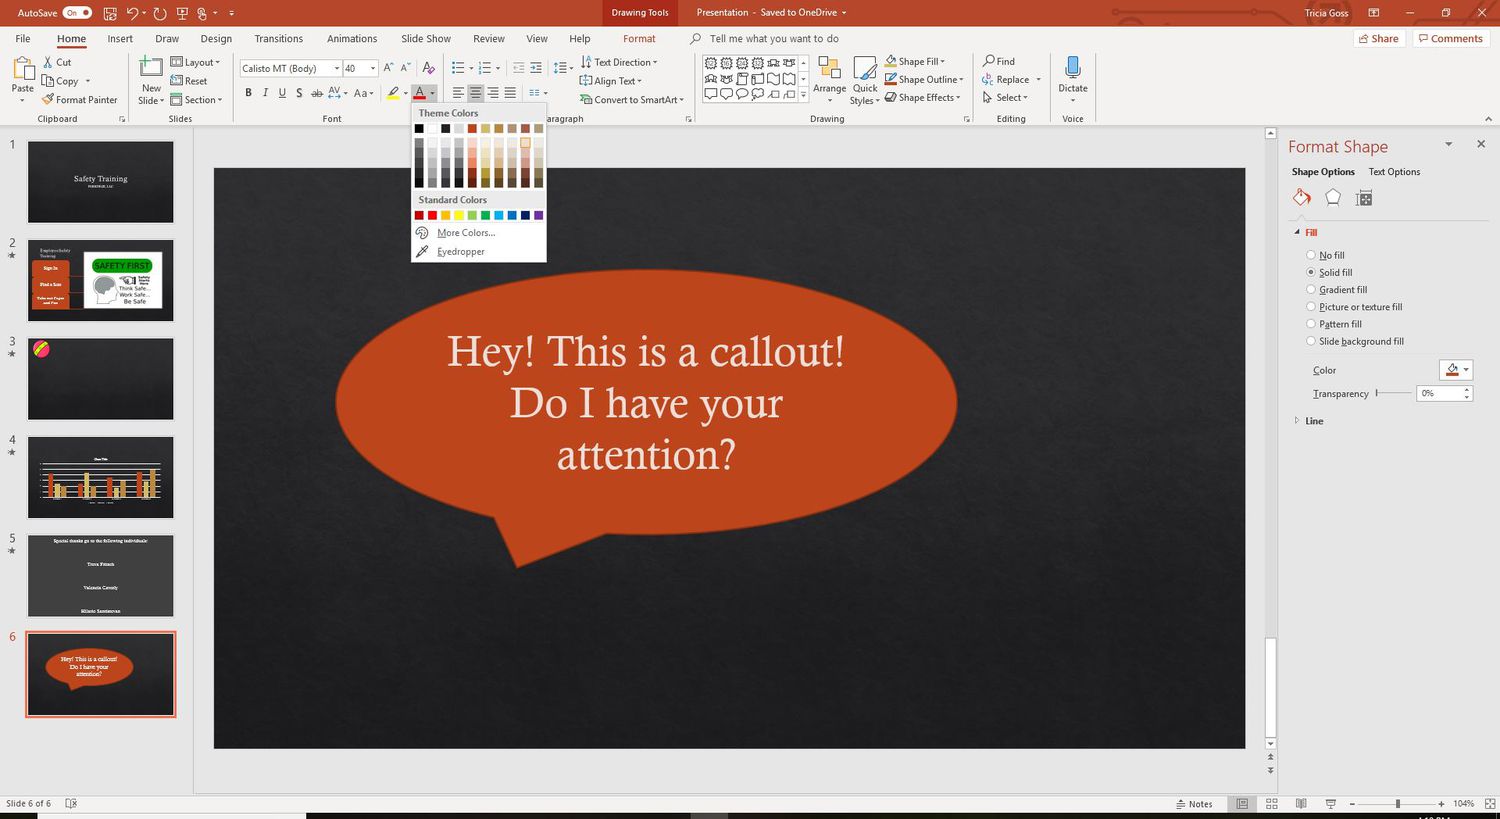
Enhancing Visual Communication: A Comprehensive Guide to Adding Callouts to Images in PowerPoint 2010

Introduction:
In today’s digital age, effective visual communication is essential for capturing audience attention, conveying messages clearly, and engaging viewers. PowerPoint 2010 offers a range of tools and features to enhance visual presentations, including the ability to add callouts to images. Callouts, also known as annotations or captions, provide context, explanation, or emphasis to specific elements within images, helping to clarify information and guide viewers’ attention. In this comprehensive guide, we will explore the intricacies of adding callouts to images in PowerPoint 2010, covering everything from selecting and inserting callouts to customizing styles and positioning. By mastering the art of adding callouts, presenters can elevate the impact and effectiveness of their visual presentations, ensuring that information is communicated with clarity and precision.
Selecting and Inserting Callouts:
The first step in adding callouts to images in PowerPoint 2010 is selecting the appropriate callout shape and inserting it onto the slide. PowerPoint offers a variety of pre-designed callout shapes, including speech bubbles, thought bubbles, arrows, and more. To insert a callout shape, follow these steps:
- Open the PowerPoint presentation containing the image to which you want to add a callout.
- Click on the “Insert” tab on the ribbon.
- In the Illustrations group, click on the “Shapes” button.
- Choose the desired callout shape from the Shapes gallery.
- Click and drag on the slide to draw the callout shape around the area of the image to which you want to add the callout.
Customizing Callout Styles:
Once the callout shape has been inserted onto the slide, users can customize its appearance, style, and formatting to suit their preferences and presentation needs. PowerPoint 2010 offers a range of formatting options for callout shapes, including fill colors, outline colors, border styles, and text formatting. To customize the style of a callout shape, follow these steps:
- Select the callout shape by clicking on it.
- Click on the “Format” tab on the ribbon.
- Use the options in the Shape Styles group to apply predefined styles and effects to the callout shape.
- Click on the “Shape Fill,” “Shape Outline,” and “Shape Effects” buttons to further customize the fill color, outline color, and effects applied to the callout shape.
- Use the options in the Font group to adjust the font, font size, font color, and text alignment of the callout text.
Adding Text to Callouts:
The primary purpose of callouts is to provide textual information, explanations, or annotations to images. After inserting a callout shape onto the slide, users can add text to the callout shape to convey their message effectively. To add text to a callout shape, follow these steps:
- Double-click on the callout shape to enter text editing mode.
- Type or paste the desired text into the callout shape.
- Use the formatting options in the Font group on the ribbon to adjust the font, font size, font color, and text alignment of the callout text.
- Click outside the callout shape or press the Esc key to exit text editing mode.
Positioning and Aligning Callouts:
Proper positioning and alignment of callouts are essential for ensuring that they complement and enhance the images they annotate. PowerPoint 2010 offers a range of alignment and distribution options to help users position and align callouts precisely on the slide. To position and align callouts, follow these steps:
- Click and drag on the callout shape to move it to the desired location on the slide.
- Use the arrow keys on the keyboard to nudge the callout shape into position, ensuring precise alignment with image elements or other content on the slide.
- Use the alignment tools in the Arrange group on the ribbon to align callout shapes relative to each other or to other objects on the slide.
Grouping Callouts with Images:
In some cases, users may want to group callout shapes with images to ensure that they remain aligned and positioned correctly when moving or resizing the image. PowerPoint 2010 allows users to group objects together, making it easy to manipulate them as a single unit. To group callouts with images, follow these steps:
- Select the image and callout shapes that you want to group together by holding down the Shift key and clicking on each object.
- Click on the “Format” tab on the ribbon.
- In the Arrange group, click on the “Group” button, then select “Group” from the dropdown menu.
- The selected objects will be grouped together as a single unit, allowing users to move, resize, or format them collectively.
Conclusion:
Adding callouts to images in PowerPoint 2010 is a powerful way to enhance visual communication and clarify information in presentations. By selecting and inserting callout shapes, customizing styles and formatting, adding text, positioning and aligning callouts, and grouping callouts with images, users can create compelling and informative slides that effectively convey their message to audiences. Whether providing explanations, annotations, or emphasis, callouts help to guide viewers’ attention and enhance understanding, making them a valuable tool for presenters seeking to create impactful and engaging presentations. By mastering the art of adding callouts in PowerPoint 2010, users can elevate the effectiveness and professionalism of their visual presentations, ensuring that information is communicated with clarity, precision, and visual appeal.


