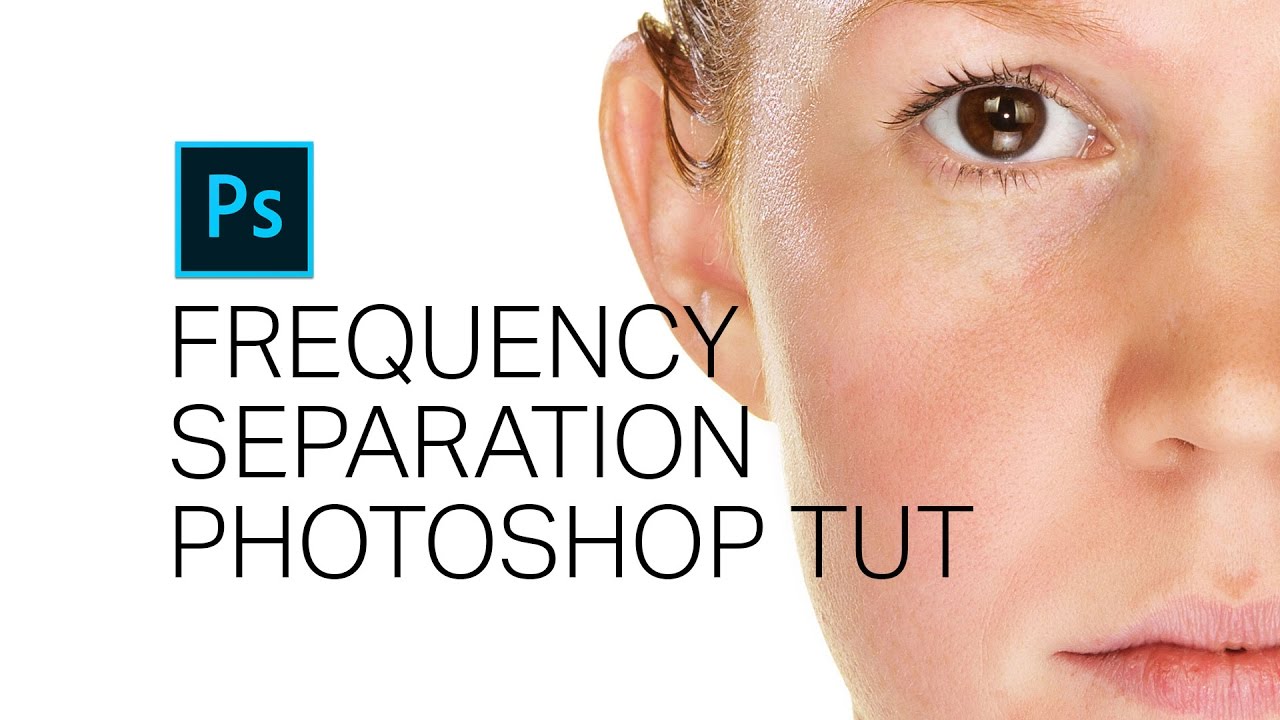
Mastering Precision: A Comprehensive Guide to Nondestructive and Fully Editable Frequency Separation in Photoshop

Introduction:
Frequency separation is a powerful and sophisticated technique in Photoshop that allows photographers and digital artists to separate the high-frequency details (textures, fine lines) from low-frequency tones (colors, shadows) in an image. This nondestructive approach enables precise retouching without compromising the integrity of the original image. In this extensive tutorial, we will explore the intricacies of frequency separation, providing step-by-step instructions to help you achieve professional-level retouching with fully editable layers in Photoshop.
Understanding Frequency Separation:
Frequency separation involves breaking down an image into two distinct layers – a high-frequency layer containing details and textures and a low-frequency layer containing tones and colors. By separating these elements, retouchers can target specific aspects of an image without affecting others. This technique is particularly valuable for portrait retouching, as it allows for the refinement of skin texture, removal of blemishes, and enhancement of overall tone without compromising the subject’s natural appearance.
Step 1: Duplicate and Convert to Smart Object
Start by opening your image in Photoshop. Duplicate the background layer by pressing Ctrl+J (Cmd+J on Mac). Right-click on the duplicated layer and choose “Convert to Smart Object.” This step ensures a nondestructive workflow, allowing for adjustments to be applied without permanently altering the original image.
Step 2: High-Frequency Layer (Details)
With the duplicated layer selected, go to the “Filter” menu, choose “Blur,” and select “Gaussian Blur.” Adjust the radius until fine details, such as skin texture or fine lines, are no longer discernible. Typically, a radius between 2 and 5 pixels works well for high-frequency separation.
Rename the layer to “High Frequency” to keep your workflow organized. The “High Frequency” layer now contains the fine details of the image.
Step 3: Low-Frequency Layer (Tones)
Create a new layer above the “High Frequency” layer and name it “Low Frequency.” With the “Low Frequency” layer selected, go to the “Image” menu, choose “Apply Image,” and ensure that the settings are as follows:
- Layer: “Background”
- Blending: “Subtract”
- Scale: 2
- Offset: 128
Set the blending mode of the “Low Frequency” layer to “Linear Light.” This layer now contains the overall tones and colors of the image, creating the separation between textures and tones.
Step 4: Create Group and Set Up Editing Layers
Select both the “High Frequency” and “Low Frequency” layers, then press Ctrl+G (Cmd+G on Mac) to group them. Name the group “Frequency Separation.” This step keeps the layers organized and easily accessible.
Within the group, create adjustment layers for tonal adjustments, such as “Curves” and “Levels,” directly above the “Low Frequency” layer. These adjustment layers will affect the overall tone and color of the image without impacting the fine details.
Step 5: Retouching on High-Frequency Layer
To retouch the fine details on the “High Frequency” layer, select the layer and use tools such as the “Spot Healing Brush,” “Clone Stamp,” or “Brush” tool with a soft brush. The advantage of the high-frequency layer is that it allows for precise retouching without affecting the broader tones.
For example, use the “Spot Healing Brush” to remove blemishes, wrinkles, or imperfections while maintaining the natural texture of the skin.
Step 6: Adjusting Tones on Low-Frequency Layer
To adjust overall tones and colors, focus on the “Low Frequency” layer. Use the “Clone Stamp,” “Brush,” or other retouching tools to address larger areas of tone and color variation.
You can also apply adjustment layers directly above the “Low Frequency” layer to refine tones. For instance, adding a “Curves” adjustment layer allows you to fine-tune the contrast and brightness of the entire image.
Step 7: Fine-Tuning and Refinement
The beauty of frequency separation lies in its flexibility. Fine-tune your retouching by toggling the visibility of the “High Frequency” and “Low Frequency” layers within the group. Adjust the opacity of the “High Frequency” layer to control the intensity of details, and experiment with blending modes on the “Low Frequency” layer to achieve the desired tonal balance.
Step 8: Merge and Finalize
Once you are satisfied with your retouching, you can merge the layers for a clean, final result. Flatten the image or create a stamped layer (Ctrl+Alt+Shift+E or Cmd+Opt+Shift+E on Mac) to combine all visible layers into a new layer.
Save your retouched image, and you now have a professionally edited photograph with nondestructive and fully editable frequency separation layers.
Conclusion:
Mastering frequency separation in Photoshop opens up a realm of possibilities for precise and sophisticated retouching. By separating fine details from overall tones, this technique allows photographers and digital artists to achieve professional-level results without compromising the integrity of the original image. The step-by-step tutorial provided here serves as a comprehensive guide to help you navigate the intricacies of frequency separation, empowering you to elevate your retouching skills and produce stunning, visually captivating images. Remember that practice, experimentation, and a keen eye for detail are key to unlocking the full potential of frequency separation in your Photoshop workflow.


