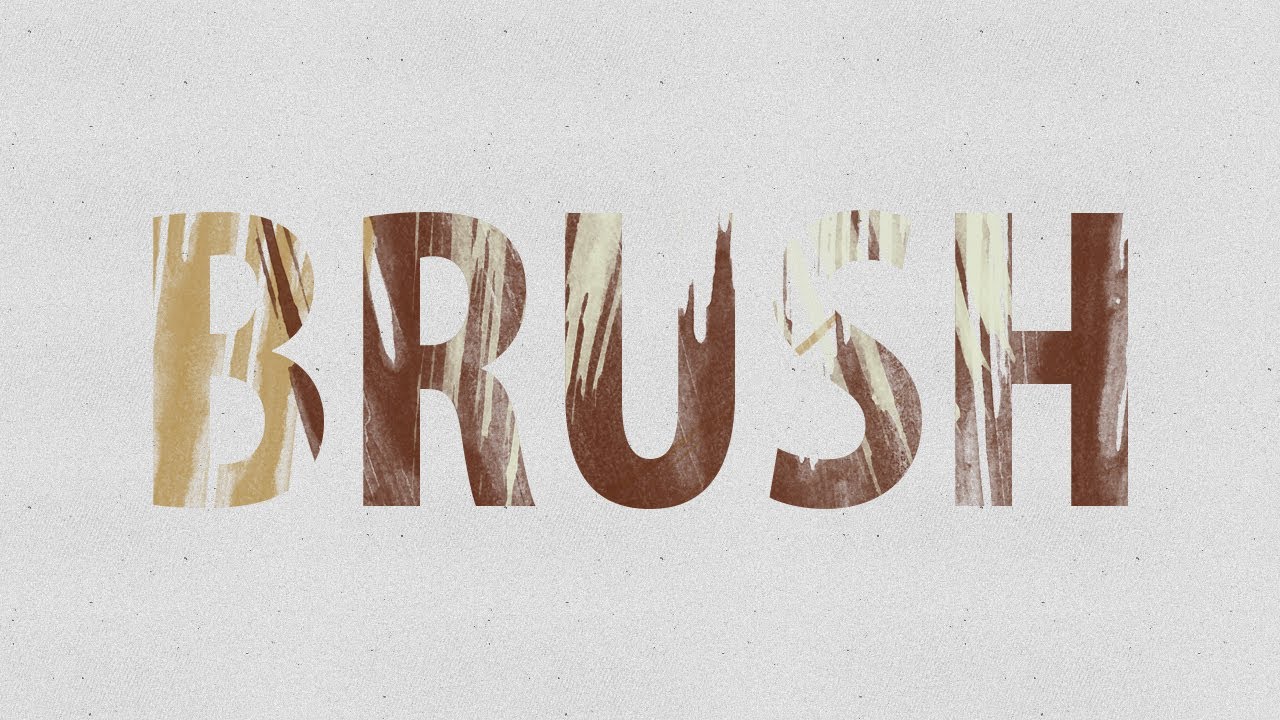
Mastering the Art: Stroke Text with a Brush in Photoshop

Introduction:
Photoshop, the powerhouse of digital creativity, offers a myriad of tools and techniques to bring your artistic visions to life. One captivating method that combines the precision of digital design with the organic charm of hand-painted strokes is the art of stroking text with a brush. In this extensive guide, we’ll delve into the step-by-step process of stroke text creation, exploring various brush settings, customization options, and creative possibilities that Photoshop puts at your fingertips.
Setting the Canvas:
Before diving into the strokes, set the canvas to lay the foundation for your artistic endeavor. Open Photoshop, create a new document, and choose the dimensions and resolution that align with your vision. A larger canvas might be preferable for intricate details, while a smaller one can enhance a minimalist approach.
Choosing the Right Brush:
Selecting the appropriate brush lays the groundwork for the stroke text. Photoshop offers an extensive library of brushes, each with unique characteristics. Navigate to the Brush Preset Picker and experiment with different brushes to find the one that aligns with your artistic intent. Consider factors such as size, hardness, and shape dynamics to tailor the brush to your specific needs.
Customizing Brush Settings:
To truly unleash the creative potential of stroked text, delve into the Brush Settings panel. Adjust the spacing to control the distance between each brush mark, modify scattering for a more randomized effect, and explore texture options to add depth and complexity to your strokes. Tinkering with these settings allows you to fine-tune the brush to achieve the desired aesthetic.
Creating the Text:
With your canvas and brush settings in place, it’s time to add the text. Select the Text tool from the toolbar, click on the canvas, and type your desired text. Experiment with different fonts, sizes, and alignments until the text complements your artistic vision. Once satisfied, rasterize the text layer to enable brush strokes.
Stroking the Text:
Now comes the artistic flourish – stroking the text with the chosen brush. Create a new layer above the text layer, ensuring that it’s selected. Choose the Brush tool, set the foreground color to the hue you want, and start brushing over the text. The strokes will seamlessly follow the contours of the letters, creating a hand-painted effect. Experiment with stroke opacity and layer blending modes to enhance the visual impact.
Embracing Color Dynamics:
For a dynamic and vibrant outcome, explore the Color Dynamics option in the Brush Settings panel. This feature allows the brush strokes to vary in color, opacity, and saturation based on your defined parameters. By introducing color dynamics, you can infuse your stroke text with a rich, painterly quality that adds depth and interest.
Incorporating Texture:
Elevate your stroke text by incorporating texture into the brush strokes. Photoshop offers a plethora of textures and patterns that can be applied directly to the brush. Experiment with different textures to achieve effects ranging from subtle graininess to bold, textured strokes. This step not only enhances the visual appeal but also adds a tactile quality to the digital canvas.
Adding Depth with Layer Styles:
To further enhance the three-dimensional quality of your stroke text, explore the Layer Styles options. Apply effects such as Bevel and Emboss, Inner Shadow, and Gradient Overlay to introduce depth, highlights, and shadows. Layer Styles provide a versatile toolkit for refining the overall look of your stroke text, allowing you to tailor it to match your artistic vision.
Fine-Tuning and Refining:
Artistic mastery lies in the details. Take the time to fine-tune your stroke text by adjusting individual brush strokes, refining edges, and experimenting with additional brush details. Utilize the eraser tool to clean up any stray marks or refine specific areas. This meticulous approach ensures a polished and professional outcome.
Experimenting with Blending Modes:
Harness the creative potential of blending modes to introduce captivating interactions between your stroke text and the background. Experiment with modes like Overlay, Multiply, or Screen to achieve unique color interactions, luminosity effects, or intriguing text overlays. Blending modes provide a playground for artistic experimentation, allowing you to discover unexpected and visually stunning results.
Saving and Exporting:
Once satisfied with your stroke text masterpiece, it’s time to save and share your creation. Save the Photoshop (.PSD) file to preserve layers and editing capabilities. For sharing or incorporating into other projects, export your stroke text as a high-quality image file (.JPEG, .PNG) with a transparent background if desired.
Conclusion:
Mastering the art of stroke text with a brush in Photoshop is a journey of creativity, experimentation, and skill refinement. By combining the precision of digital design with the organic charm of hand-painted strokes, you unlock a realm of artistic possibilities. Whether you’re aiming for a rustic, handcrafted vibe or a bold, contemporary aesthetic, Photoshop provides the tools and flexibility to bring your stroke text visions to life. So, pick up your digital brush and let your creativity flow as you embark on the exhilarating journey of stroking text in Photoshop.


